
Kitchen counter organization runs from a $23 acacia turntable to a full weekend reworking the room. What decides which path you need is how fast your household turns cleared space back into piles. The same coffee maker earns its spot in one kitchen and becomes clutter in another, and the difference is not how often you brew; it is whether you have a cabinet within one step of the outlet.
1. Remove Unnecessary Items
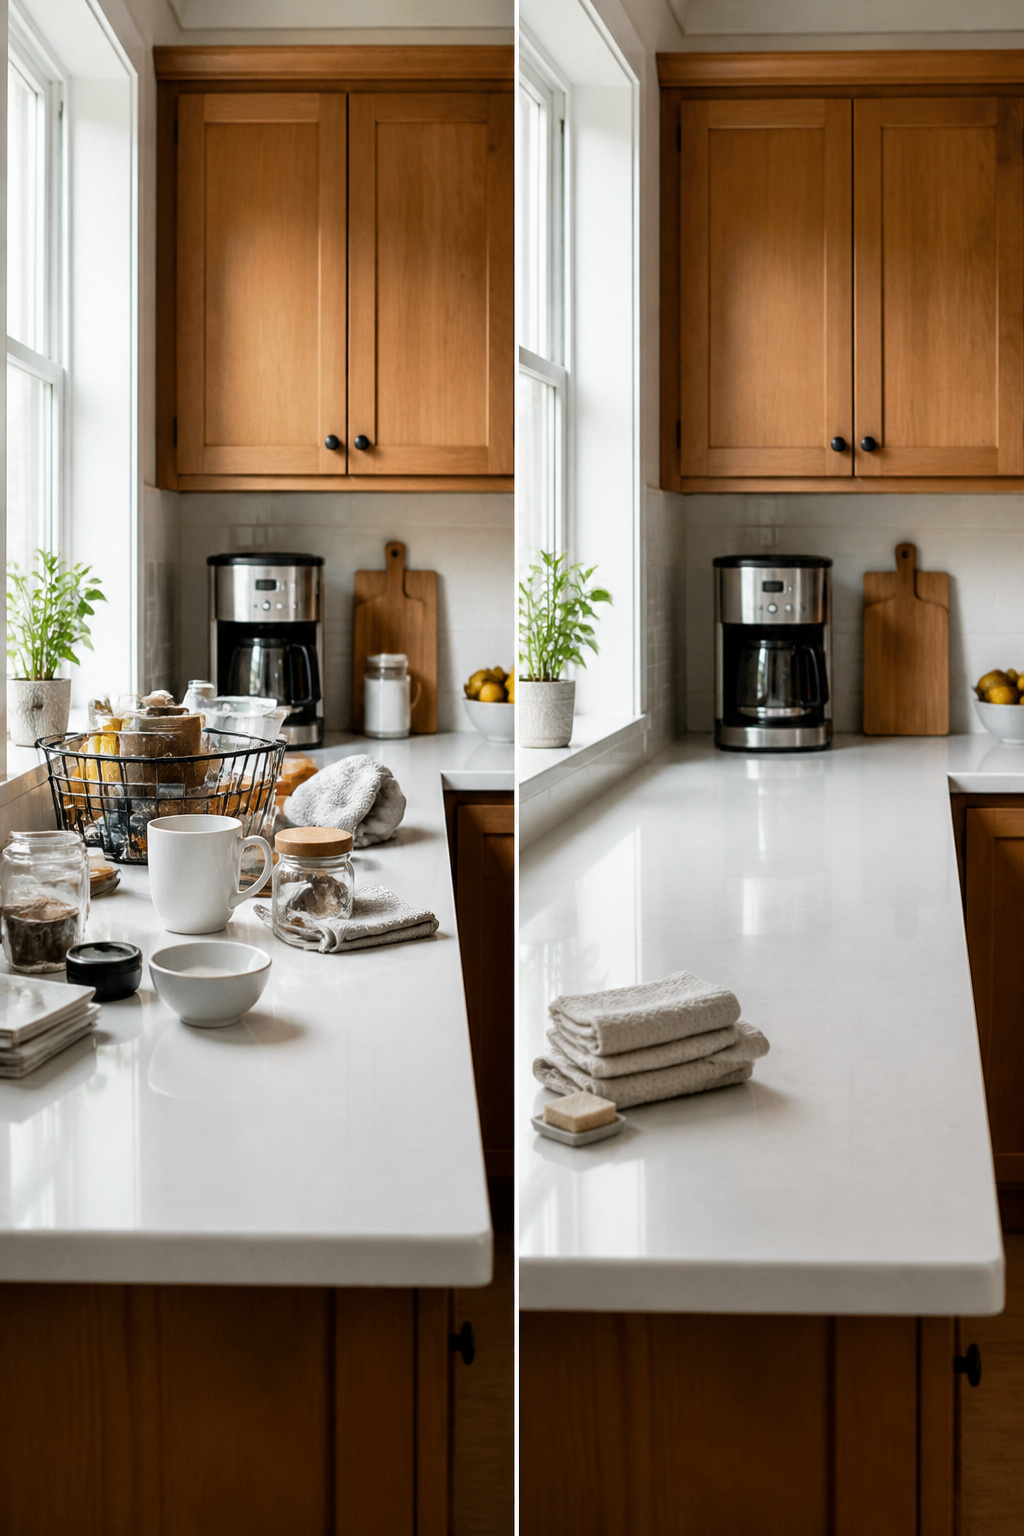
Start by pulling everything off the counters. The coffee maker stays because it runs every morning. The air fryer that fires up twice a month goes to a cabinet. Anything you use less than three times a year does not earn counter space. That rule clears more than you’d expect.
Work from one end of the kitchen to the other. Pick up each item, decide where it actually lives, and put it there. Do not make a "deal with later" pile. The "swipe and go" method only works if you return things to their proper places as you move, not stack them for a second pass. A wire basket can hold items that belong in other rooms until you walk them there, but do not let it become permanent storage.
Once the surface is clear, wipe it down before anything goes back. A clean counter changes how the whole kitchen feels, and you will notice which items you reach for when you have to place them deliberately rather than leave them where they landed.
2. Relocate Items That Do Not Belong
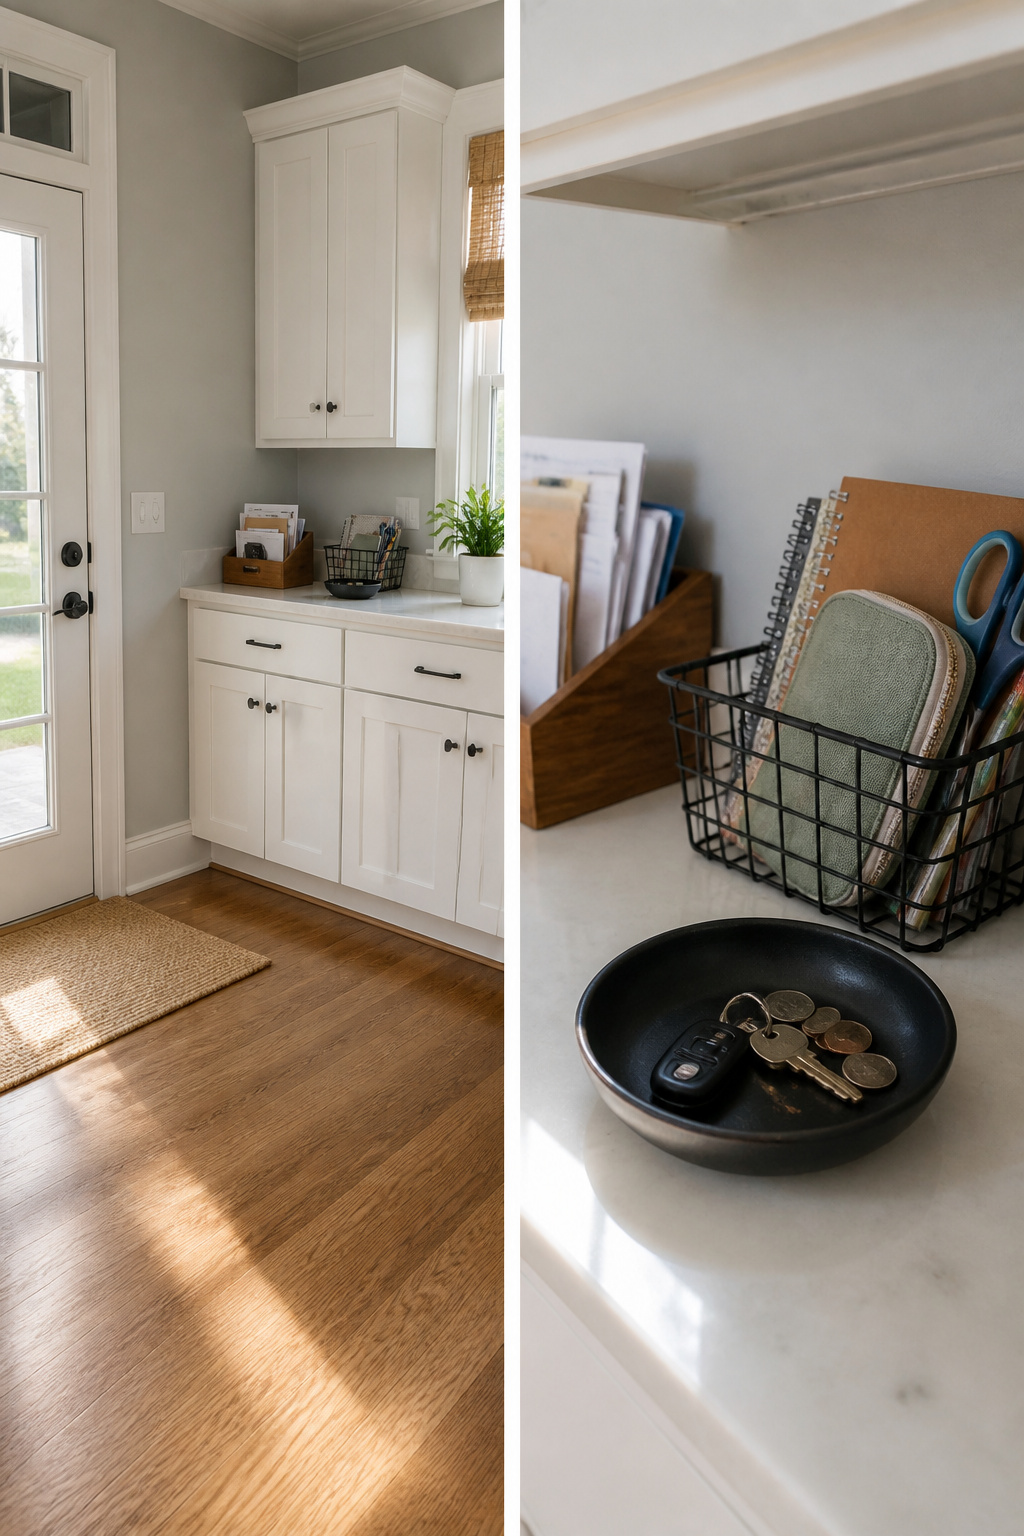
Mail, keys, homework, tools: they pile up because the kitchen is where you walk in, not because they live there. This step is not decluttering; these items are not unwanted, just misplaced. The mail belongs in a letter holder or paper tray by the door or in a home office. Keys need a bowl or trinket dish near the entry you actually use. Homework goes back to backpacks or a desk. Tools return to a garage pegboard or the drawer they came from. If you need a holding spot while you sort, a wire basket on a shelf keeps the counter clear without pretending the stuff has already been dealt with. Change the habit, not just the surface.
3. Give Every Item a Proper Home
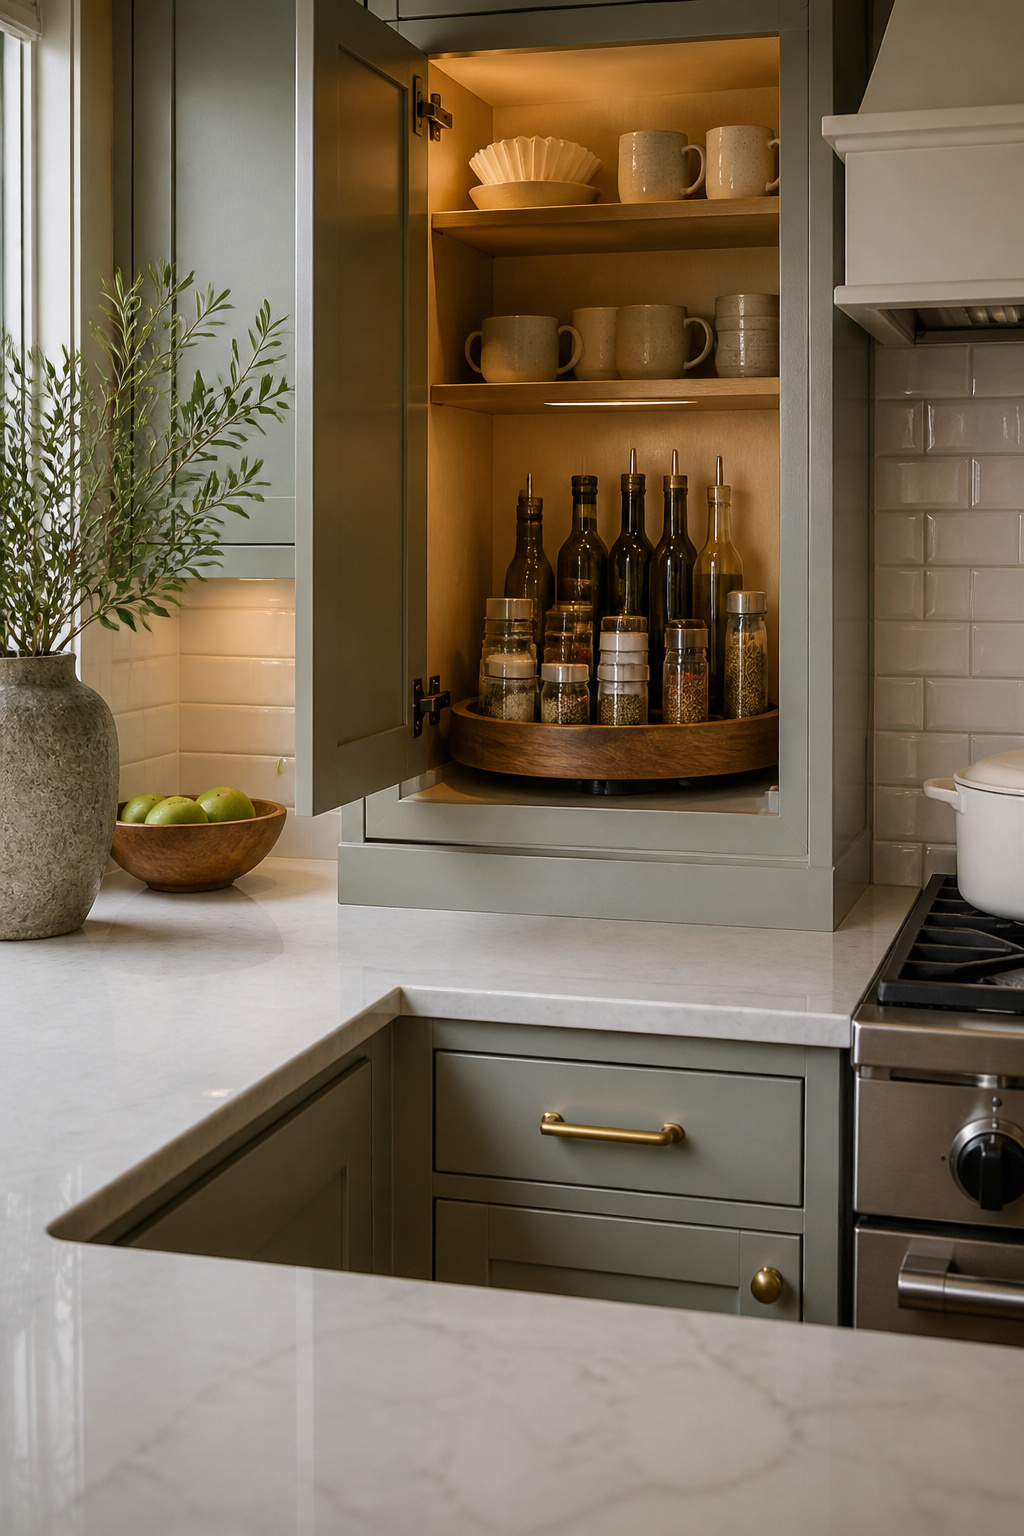
A general zone on the counter is not a home. A drawer, a cabinet shelf, or a specific inch of turntable is what keeps an object from drifting back into a pile.
Lazy Susans earn their space here. A turntable inside a cabinet puts oils, vinegars, or daily spices within reach without the permanent counter camp. Wood, marble, or metal ones run from about $23 to $320 depending on weight and finish; the Neat Method acacia model at $23 from Food52 is enough for most renters who want to spin a few bottles out of sight. The two-tier acrylic kind stacks more in the same footprint if your shelf height allows it.
The real work is the decision, not the purchase. When every coffee filter, charging cable, and spare key has an exact drawer or shelf assigned to it, the counter stops being the default. Without that specificity, you are just reshuffling the same drift every Saturday.
4. Store Daily-Use Appliances Out of Sight
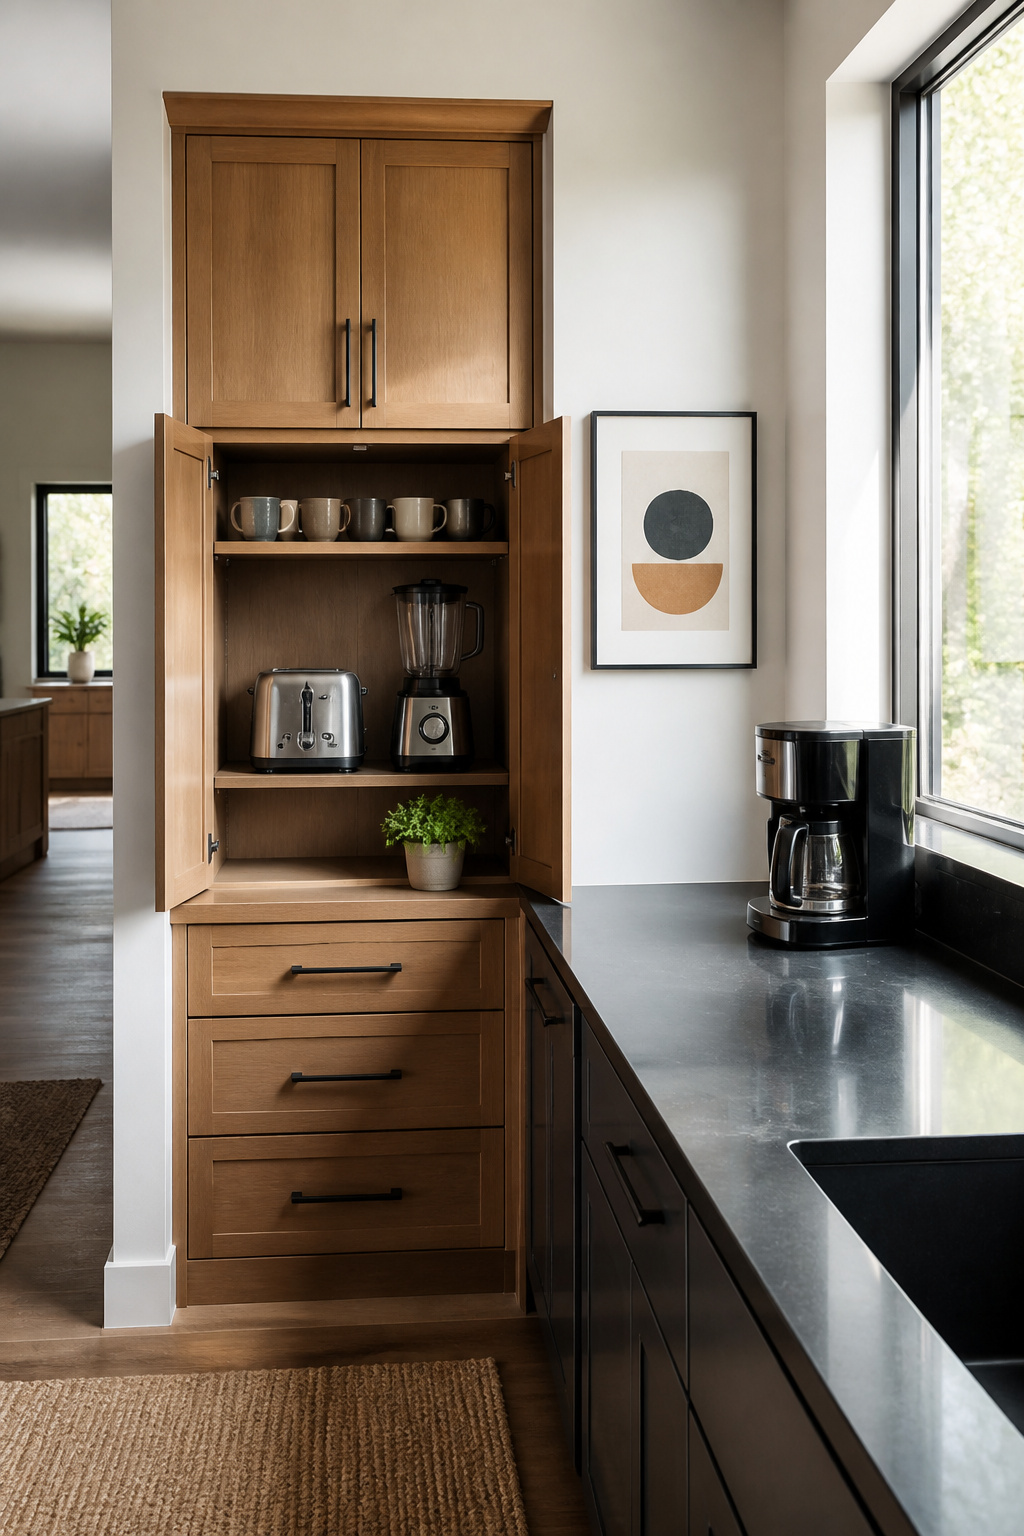
The coffee maker, toaster, and blender share a problem: you reach for them every morning, yet they sit idle for twenty-three hours and fifty-seven minutes in between. That rhythm makes them feel essential to leave out, but the math says they earn almost no counter space at all.
Stackable shelves inside a cabinet change the equation. A sturdy set with locking pieces, roughly the width of a toaster, lets you park the appliance below and stack mugs or filters above it. The Yamazaki stackable countertop shelf runs about $28; cabinet versions like the Nxconsu two-pack land near $26. Either way, you reclaim the counter without adding steps to your morning, provided the cabinet sits near an outlet.
What actually deserves the counter? The one appliance your day stalls without. For most households, that is the coffee maker. The toaster, the blender, the stand mixer, the air fryer used twice a month: they go behind a door. In a kitchen under 120 square feet, the standard shifts harder. There, even the coffee maker might live on a roll-out shelf in the cabinet below, and the counter stays clear for the actual work of cooking.
The mistake is thinking daily use equals all-day display. It does not. It means daily retrieval, which takes under a minute if the storage is close and the shelf is the right height.
5. Create Designated Areas
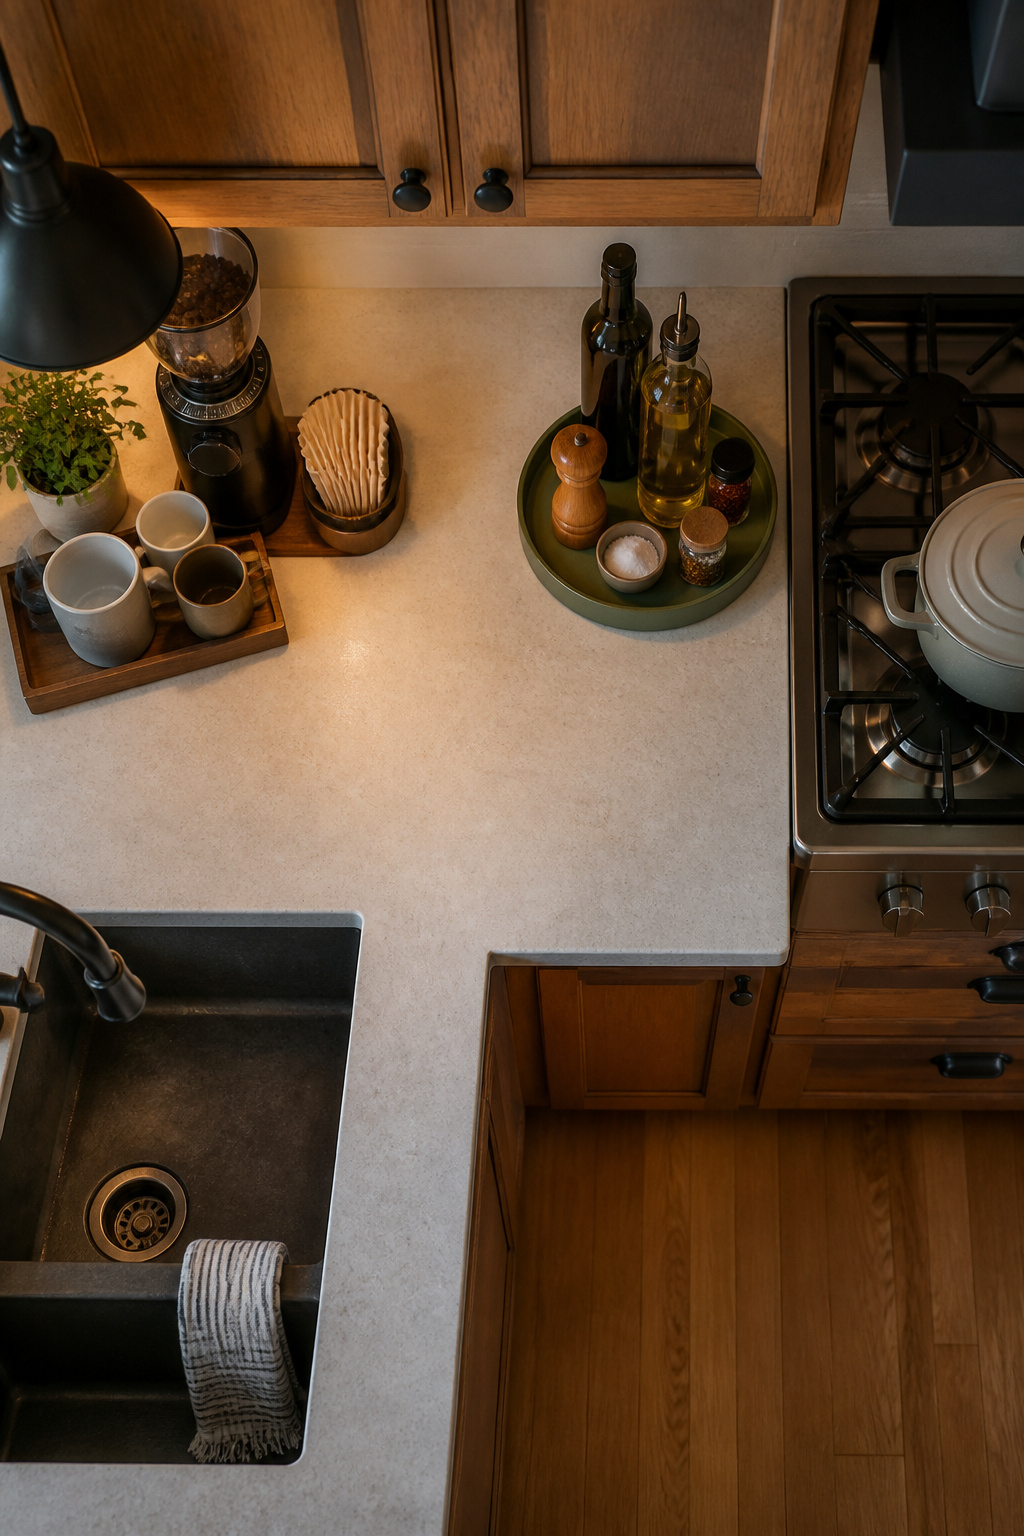
Most counter clutter starts because related items never had a place to begin with. Group the things you reach for together into zones, and they stop drifting into every corner of the kitchen.
A cooking prep zone belongs near the stove: your utensils, oils, and spices within one step of the burner. A coffee station corrals the grinder, mugs, and filters into a single footprint so morning routine does not colonize half the counter. For device charging, a dedicated spot with a station or tray keeps cords from tangling across workspaces where you actually need to chop and wipe.
In a small kitchen, one zone pulls double duty. The same corner that holds your coffee supplies can hide a tray of chargers underneath, rolled out when you need them and slid back when you do not. The principle stays the same: everything that travels together stops together.
6. Use Trays to Group Items
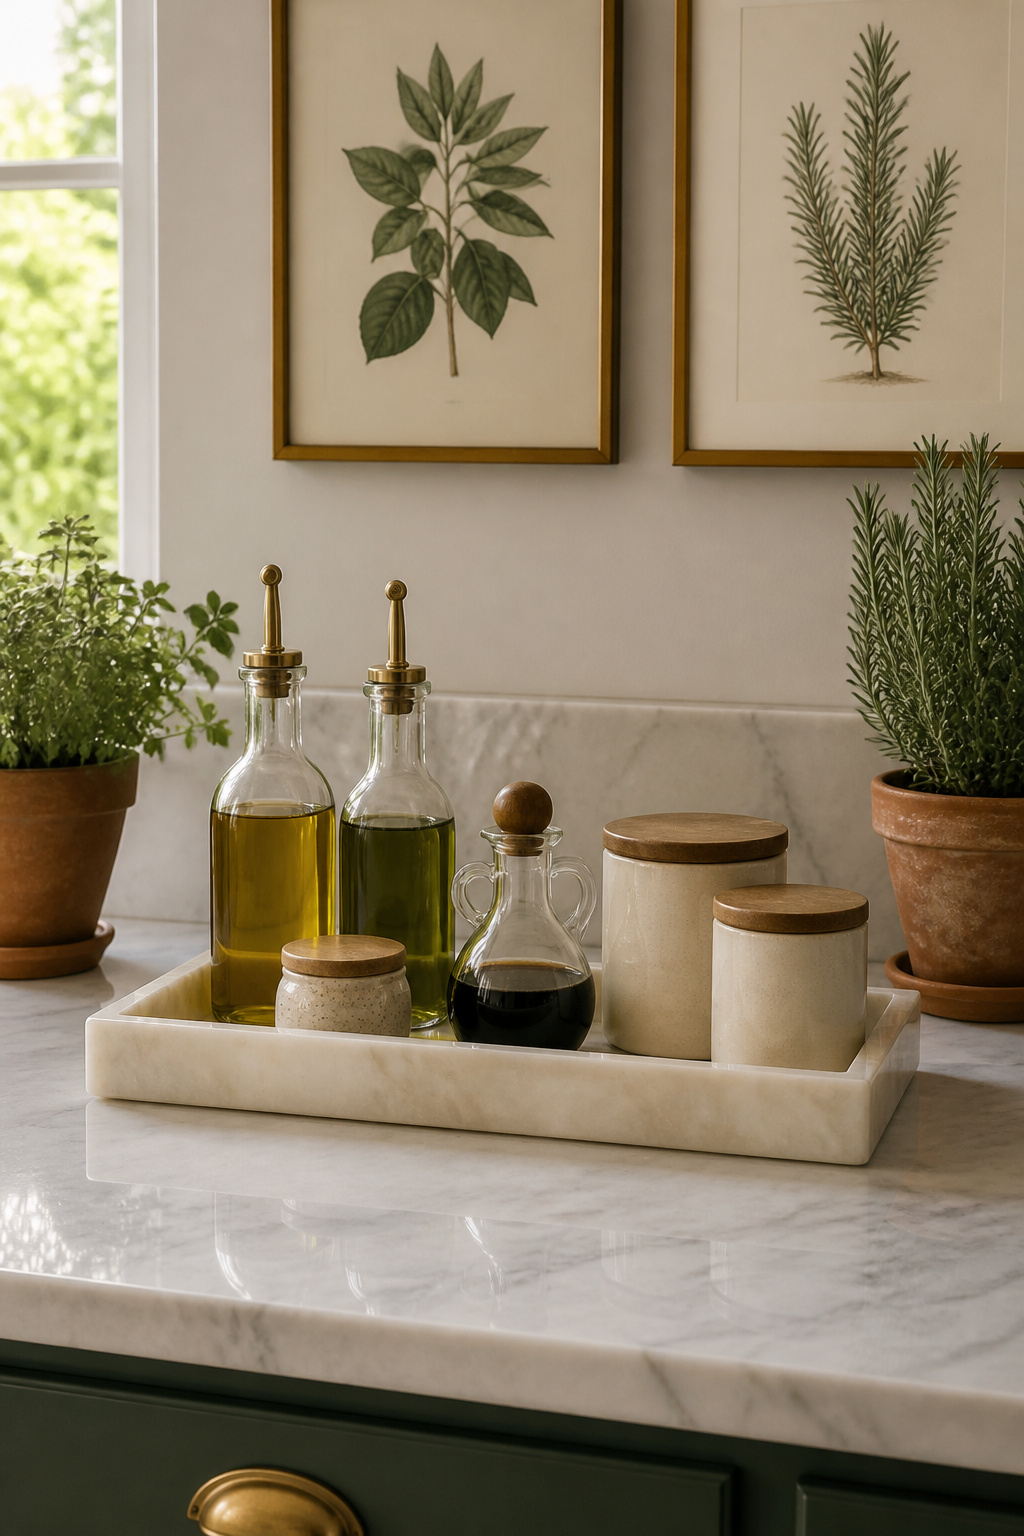
A tray turns scattered objects into a single unit you can lift, wipe under, and put back without rethinking the layout every time. Oil bottles lined up along the backsplash still read as eight separate things; the same bottles on a rectangular tray read as one zone, and your eye moves past it. The real payoff is cleaning: lift the tray, wipe the counter, set it down. No individual bottles to nudge out of the way.
For materials, resin trays survive grease and moisture better than wicker or bare wood, though a scalloped wicker tray works if you keep it dry, say for a coffee station away from the stove. Acacia cutting boards double as trays for dry items like canisters or cookbooks, but they will stain if they sit under olive oil bottles. Porcelain cake stands do well by the sink for soap and a small vase, since they handle splashes and add height without cluttering the horizontal plane.
Size the tray to your counter depth. Most kitchen counters run 24 to 25 inches front to back. A tray around 12 inches deep leaves room behind it for the backsplash or a utensil crock without crowding the work zone in front. Go longer than 18 inches and you start losing usable prep space; shorter than 10 inches and you might as well line the items up.
7. Utilize Vertical Space
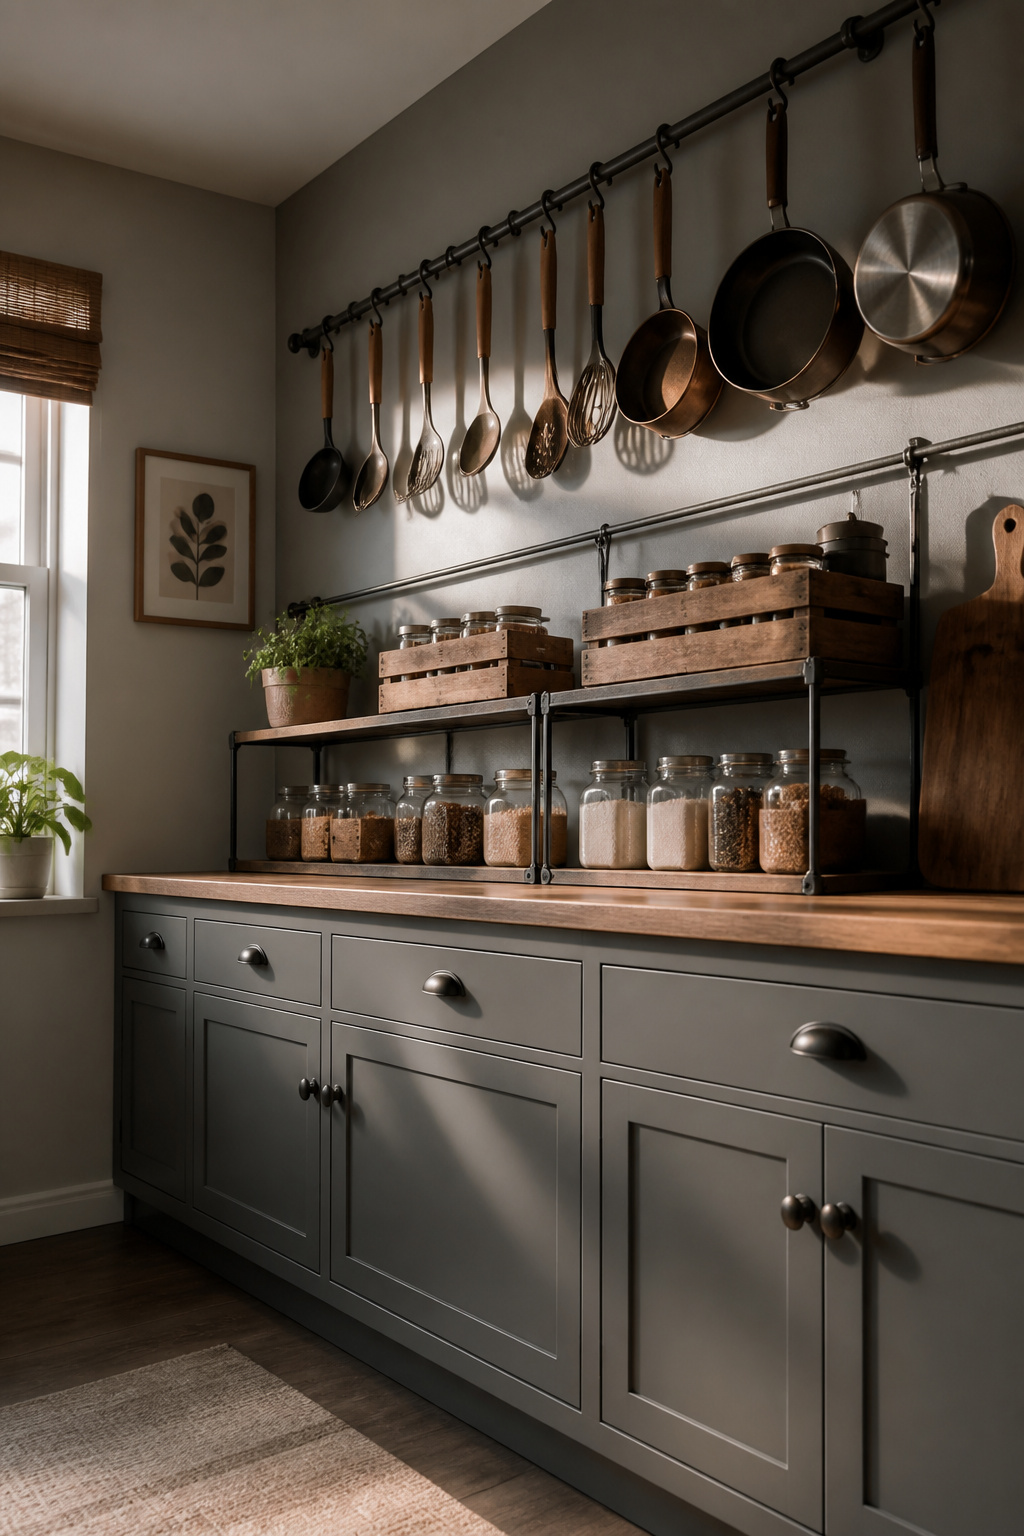
The moment you run out of counter is usually the moment you realize you’ve been thinking flat. Walls, cabinet sides, and the empty air beneath uppers are all fair game for storage that never touches the horizontal plane.
A wall-mounted rail with S-hooks keeps utensils, towels, or even a small colander within reach but off the work surface. If you rent and your lease frowns on holes, adhesive acrylic spice racks and stick-on sink caddies hold real weight now, though you should still check the weight rating and plan for the adhesive to cure overnight before loading. For anything heavier, a stud or a proper anchor is non-negotiable. A rail full of cast iron or a loaded utensil holder will pull clean out of drywall.
Stackable shelves or shelf risers let you double-use the footprint you already have. A sturdy set with locking pieces can hold morning coffee gear above a toaster, or wrangle nut butters and syrups into two tiers instead of one sprawling layer. The Yamazaki stackable countertop shelf runs about $28; shelf risers climb toward $50 and $72 for sets depending on material and width.
Inside cabinet doors, shallow racks or clear wall-mounted holders turn dead space into storage for spices, wraps, or the tools you grab twenty times a day. The goal is to keep only what you touch daily within arm’s reach, and to store it vertically so the counter itself stays open for the work it was built for.
8. Invest in Attractive Storage

Glass jars for pasta, coffee pods, and dry goods run about $5 to $8 apiece at most kitchen stores, and a five-piece stackable glass set lands near $28 on Amazon. Ceramic crocks for utensils cost roughly the same single-digit range, though the powder-coated tin containers from HAY run closer to $28 for a set of four if you catch a sale. Woven baskets for onions, garlic, or loose produce sit in that same under-$30 lane at Target or IKEA.
You keep what looks good. A scratched plastic tub migrates to the back of the cabinet; a clean glass jar you spent eight dollars on gets wiped down and refilled. The maintenance is nearly automatic.
One move that slows clutter creep: pick a single material per zone. All glass for the baking corner, all ceramic for the utensil crock, one basket style for the produce you leave out. The visual quiet lets you spot the one jar that belongs to a different category and has wandered out of place. A label maker helps, but plain masking tape and a Sharpie do the same work if the budget is tight.
9. Declutter Weekly
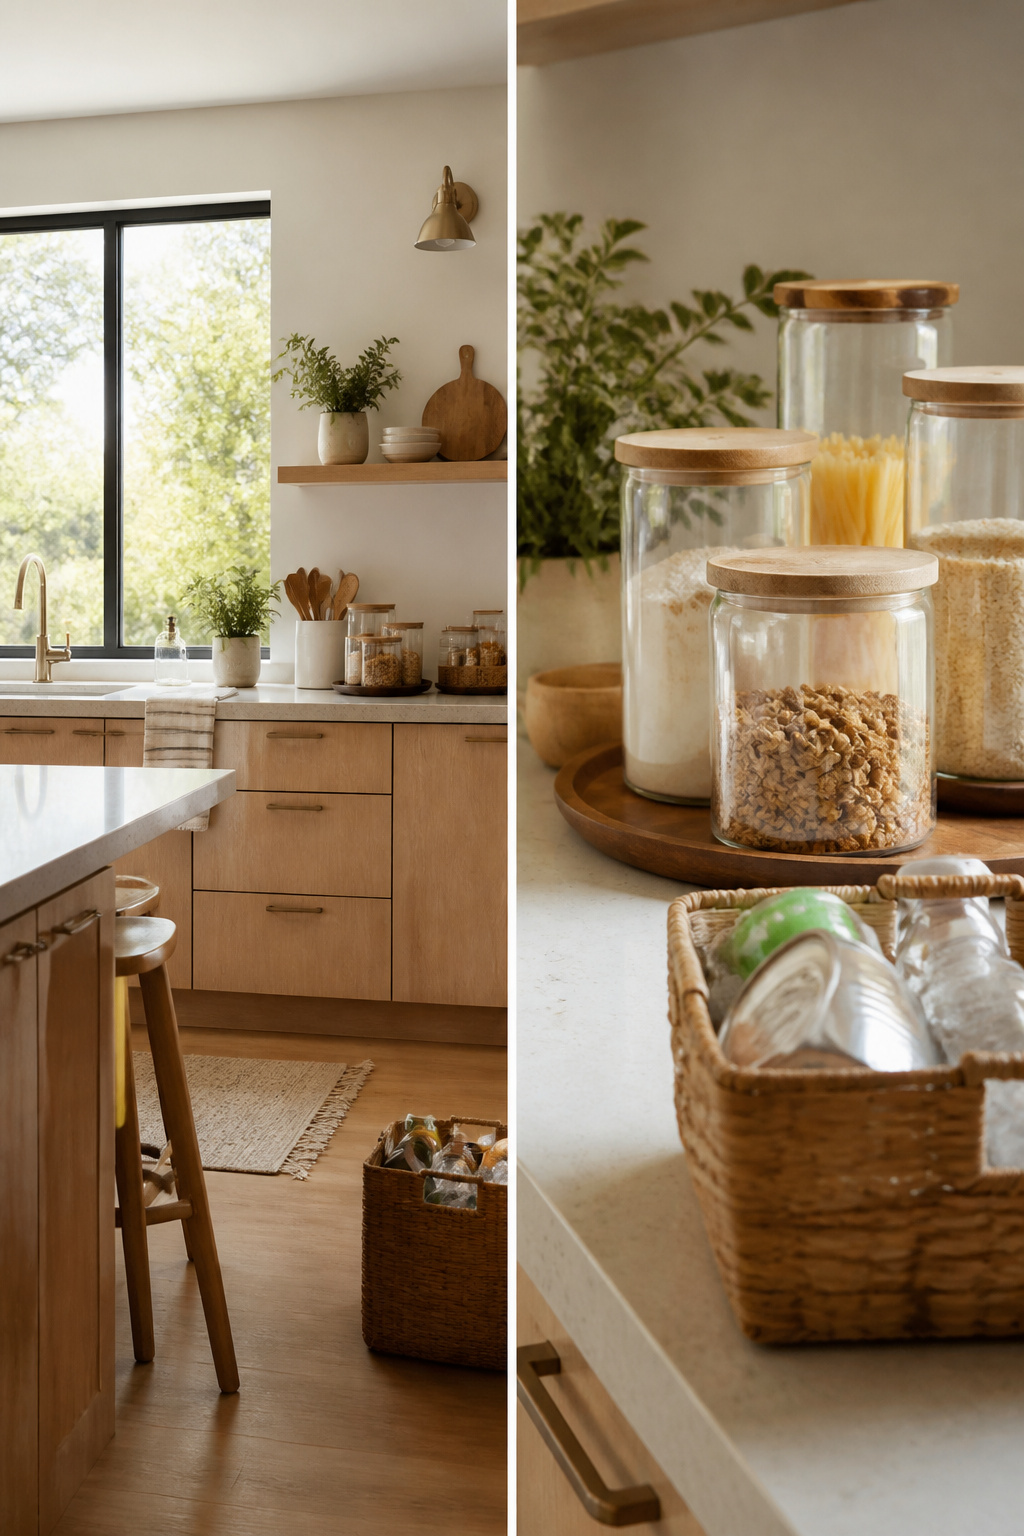
Set a recurring time to reassess what has crept back onto the counters. A weekly or bi-weekly rhythm works, depending on how fast your household generates clutter. Some people need that Sunday reset; others can stretch to two weeks before the mail pile and spare chargers start claiming territory.
Scan for three things: expired items, duplicates, and the "deal with later" objects that never got dealt with. That vitamin bottle you meant to return, the second pair of kitchen shears, the rebate envelope you set down in March. Once your system is in place, this sweep takes about ten minutes. The real work is the decision, not the moving: put it back, bin it, or finally walk it to the car.
Finish the small jobs while you are standing there. If it takes under two minutes, do it now. A cleared counter stays cleared longer when nothing on it is waiting for you.
10. Clean As You Go
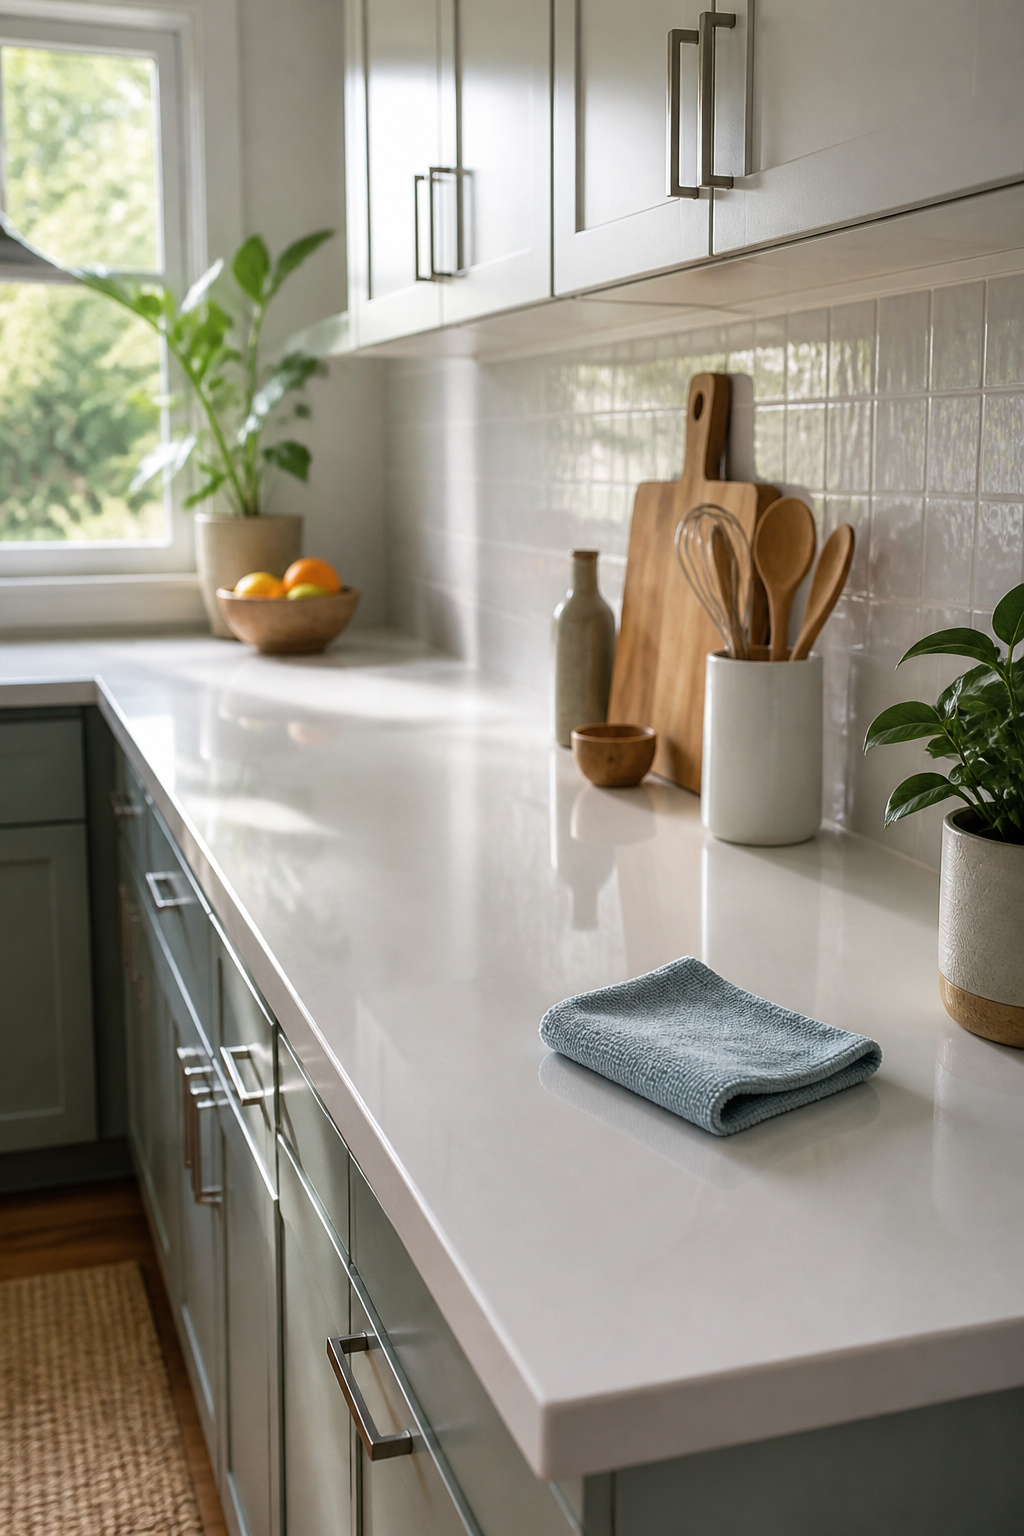
Wipe the cleared counter before you put a single thing back. A five-minute swipe with a damp cloth is enough to lift the film of grease and crumbs that makes organized counters feel cluttered again in a week. Save the deep clean for another day; right now you just need a surface you actually want to use.
The cloth and cleaner matter more than people think. A microfiber cloth and mild dish soap handle most sealed stone, laminate, and butcher block without leaving streaks or residue. Skip vinegar on granite or marble; it etches the seal over time. Skip bleach on anything porous; it stains. If you are not sure what you have, test in a corner first.
This step closes the loop. A clean counter makes you pause before you set the mail down, before the coffee grinder lives out again. The organization holds because the surface itself asks you to keep it clear.
What Stays and What Goes
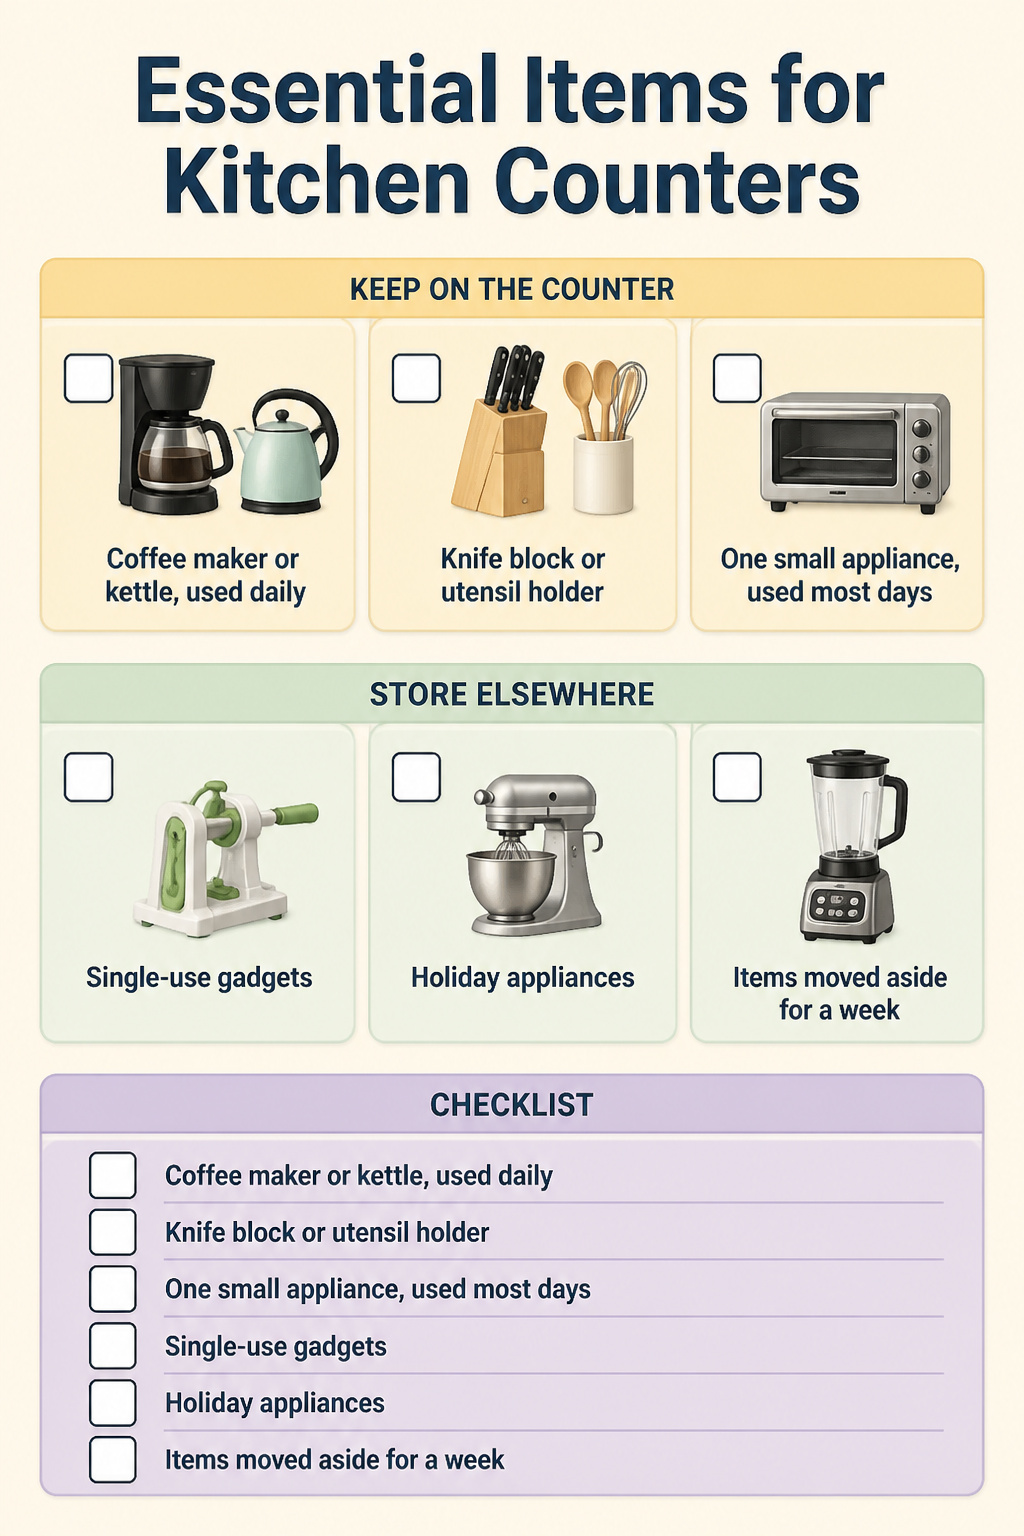
You will hit decision fatigue somewhere between the coffee maker and the third gadget you have not touched since last Thanksgiving. Two tests cut through it.
The frequency test: if you use it less than three times a year, it lives in a cabinet, a closet, or the basement. Not the counter. This is the rule that clears the most space with the least thinking.
The one-year rule works for the maybes. If you have not used it in twelve months, you do not need it within arm’s reach. That bread machine, the spiralizer, the oversized blender you keep meaning to use for soup. Store them elsewhere or let them go.
What stays:
- Coffee maker or kettle, used daily
- Knife block or utensil holder, in constant rotation
- One small appliance you use most days, no more
What goes:
- Single-use gadgets
- Appliances that only come out for holidays
- Anything you moved aside to wipe the counter and did not move back for a week
Keep the list short. Every item that fails the test is a decision already made.
Storage That Looks Good Enough to Leave Out

Some of the best counter storage is the kind you do not hide. A heavy ceramic pitcher by the stove keeps wooden spoons upright and reachable, and it looks better than a drawer full of rattling handles. Vintage stoneware bowls do the same for garlic and shallots: the clay breathes, so the bulbs last longer than they would in plastic, and the patina softens the whole counter. Wire baskets for onions add another layer of texture, but the line between styled and cluttered sits at about three open pieces per counter. Go past that and you are running a general store, not a kitchen.
The trick is choosing items you actually handle daily. A beautiful lidded jar that stays sealed because you never bake is just clutter in a better outfit. The pitcher, the bowl, the basket all earn their spots because you reach into them while cooking. If you are buying something specifically to "style" the counter, skip it. The look comes from using what you already need, then picking versions that happen to please your eye.
When Counters Stay Messy Anyway
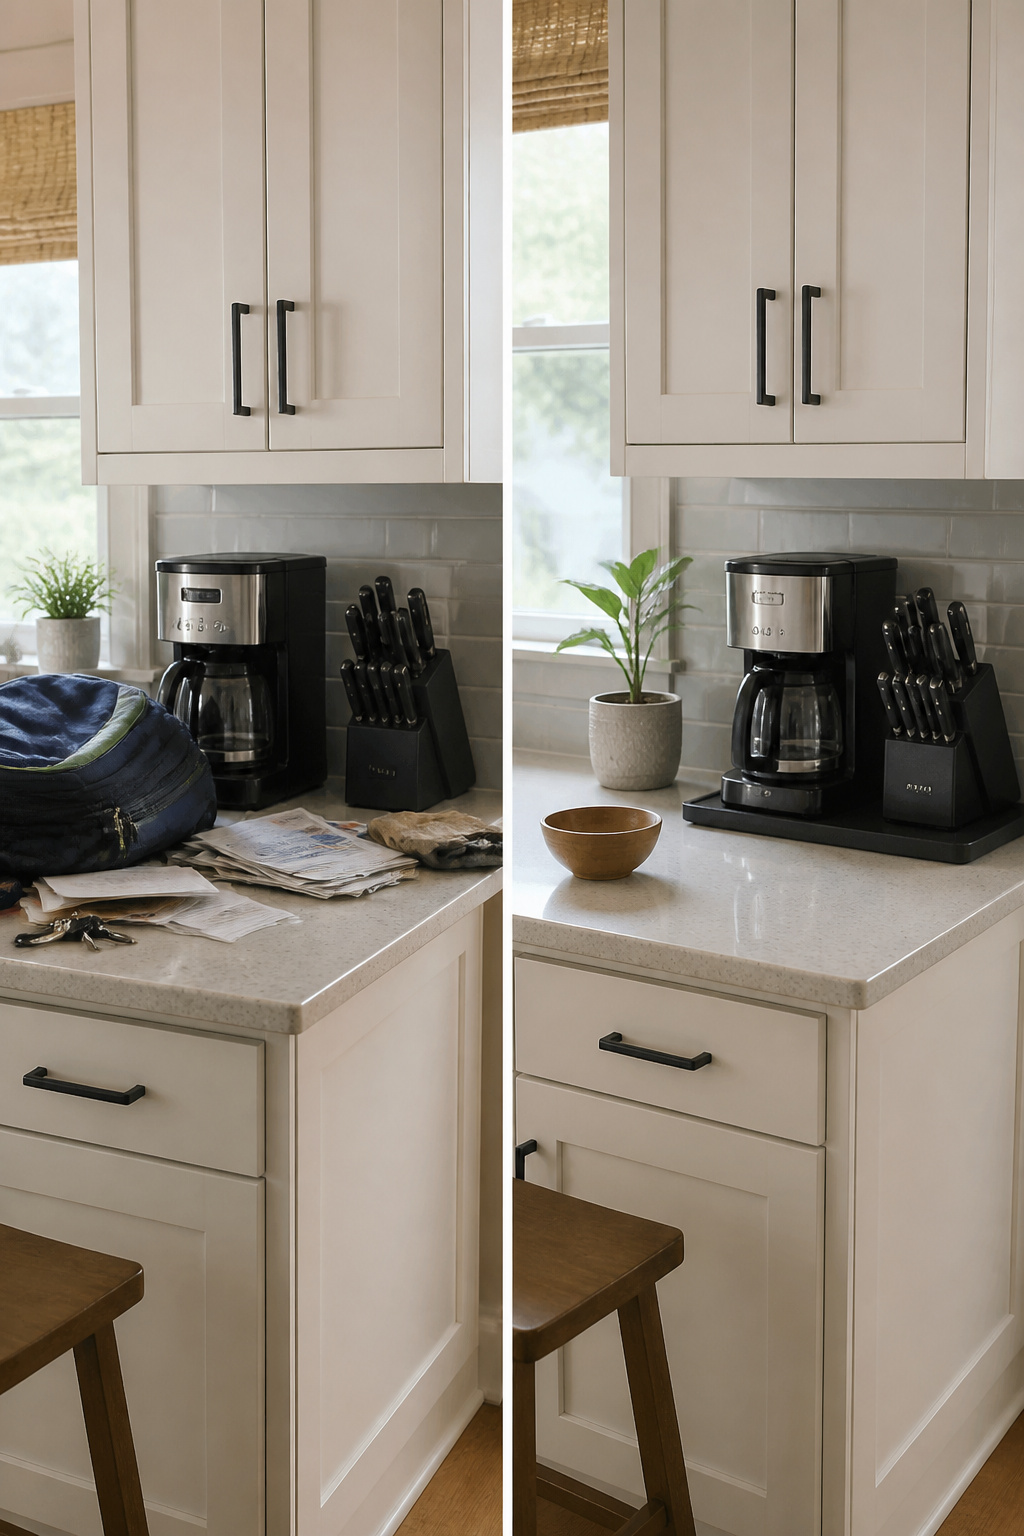
The "counter is convenient" mentality sinks more systems than bad containers do. You leave the knife block out because you reach for it twice a day, but you rarely count the cost: moving it to wipe, losing prep space mid-recipe, the low-grade visual noise every time you walk through. Convenience that stays visible becomes clutter that stays permanent.
Household size and cooking frequency determine whether a system fits or just photographs well. A single person who cooks three times a week can store the coffee maker in a cabinet; a family of four making breakfast and dinner daily needs it reachable without a ritual. The gap between those two is where most Pinterest layouts fail. They assume one kind of kitchen and one kind of morning.
Mail, keys, homework, the purse you drop coming in: kitchens become collection zones because the room is central, not because the counter is the right home. The fix is not a prettier tray. It is deciding where those items actually belong, then building the small habit of taking them there. A kitchen works like a department store service desk: things arrive, they do not stay. The culture shifts slowly, and it shifts from the specific item, not from a general vow to do better.
Renter-Friendly Vertical Options
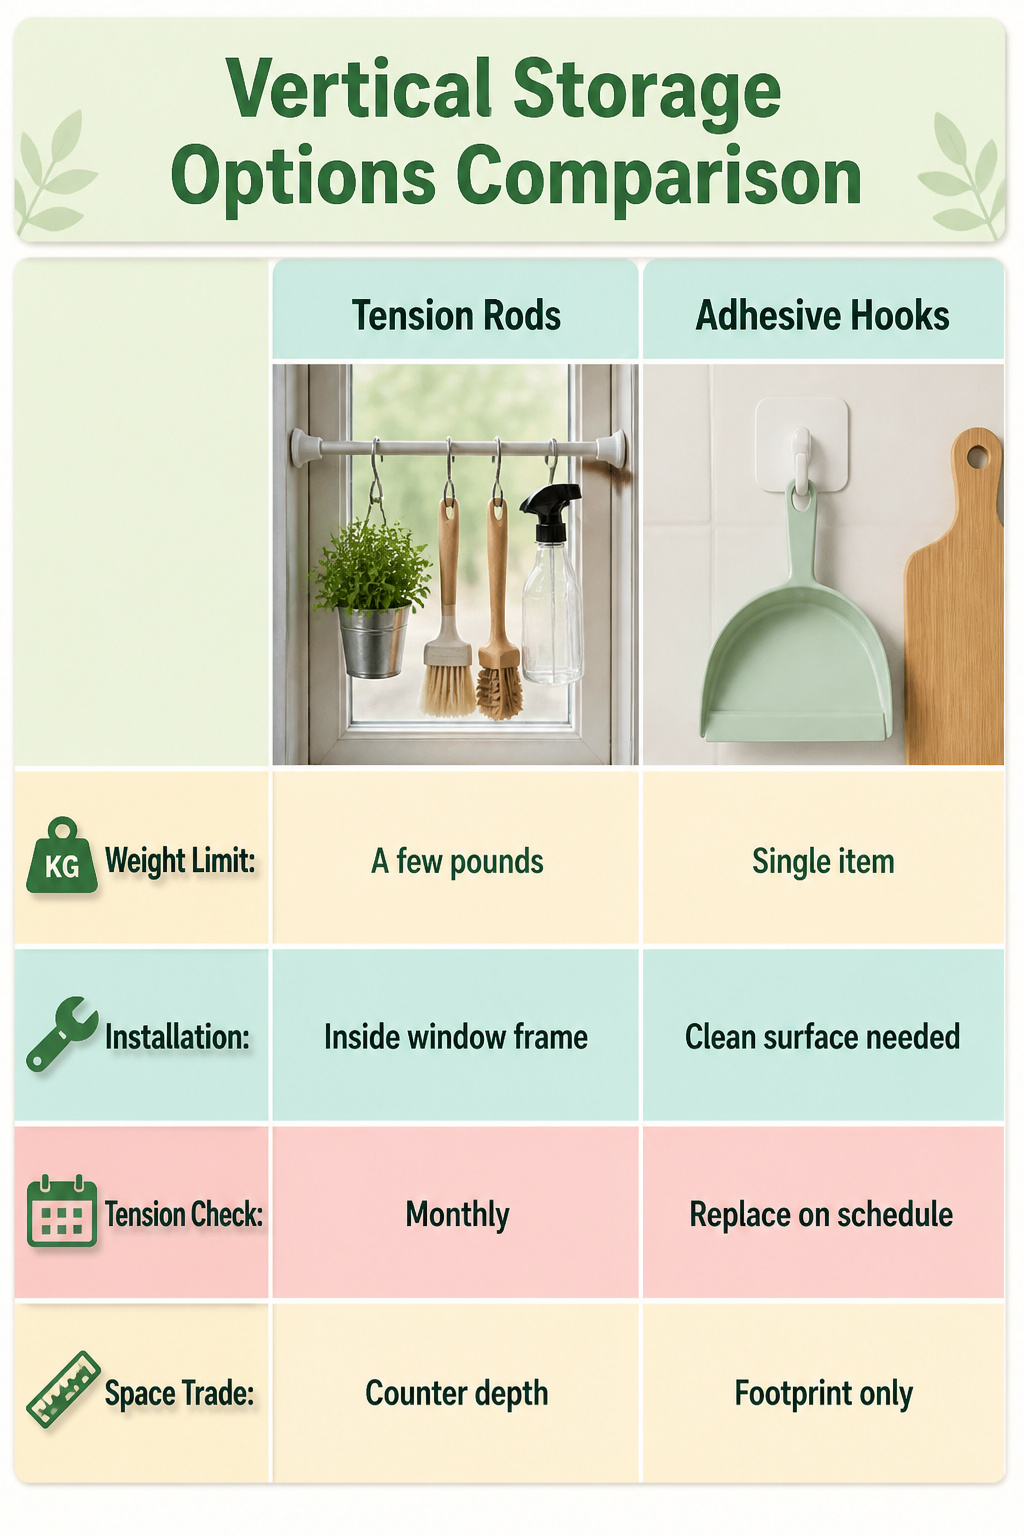
When you cannot drill into walls, you still have vertical space if you know where to look.
- Tension rods inside a window frame can hold lightweight tools, small herb pots, or a row of cleaning bottles. The spring pressure works only where the frame sides are parallel, and the rubber ends will slip if you overload them. Keep the load under a few pounds and check the tension monthly; they loosen from vibration and heat cycles.
- Adhesive hooks rated for weight are useful for single items: a dustpan, one cutting board, a coil of cord. The rating on the package assumes clean, smooth drywall or tile. Grease film near a stove defeats the bond, and the failure mode is sudden, usually around month six. Replace them on a schedule rather than waiting for the crash.
- Freestanding shelf units that sit on the counter or floor are the safer bet for anything heavy. A narrow wire rack beside the refrigerator, a wooden stand over the sink, or a rolling cart against the backsplash gives you tiers without touching the wall. The trade is footprint: you are buying back counter depth, not width. Measure your remaining work space before you buy.
A Weekend Timeline That Works
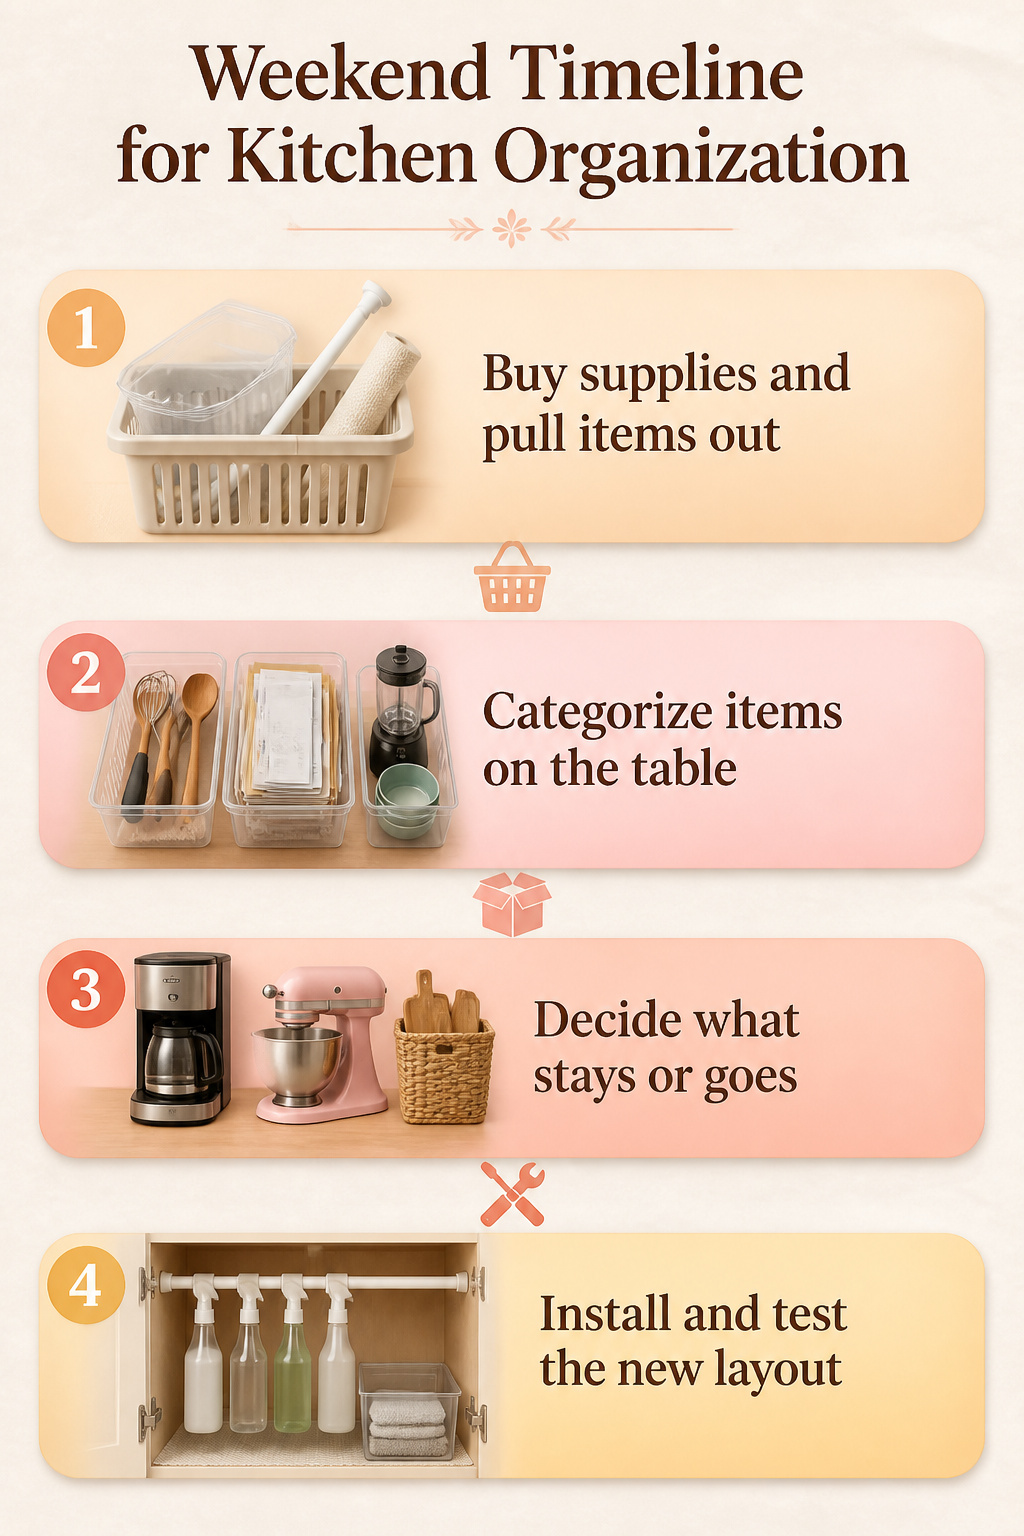
Saturday morning is for buying supplies and pulling everything out. Pick up a small tension rod, a few clear bins, and a roll of drawer liner if your surfaces scratch easily. Do not buy the fancy matching set yet. You need to see what you actually own before you know what size containers to get.
Set everything on the table by category: cooking tools, mail, appliances you used once, the things you moved from your last place because guilt made you pack them. Stop when you start thinking "I might need this someday." That thought means you are tired, not thrifty. Walk away for an hour.
Saturday afternoon, decide what lives on the counter and what gets evicted. The coffee maker can stay if you use it daily. The stand mixer goes to a cabinet or a rolling cart. Vertical space above the sink or stove is where you hang the tools you reach for twice a day.
Sunday is for installing and testing. Put the tension rod inside a deep cabinet to hang spray bottles. Line the bins. Run the coffee routine once to see if the new layout actually saves you a step. If you finish by four o’clock, you did not skip enough. A second pass on Monday evening will find three more things to lose.
Frequently Asked Questions
How do I declutter my kitchen countertops quickly?
Start at one end of the kitchen and work your way around, returning each item to its proper place as you move. Do not create a "deal with later" pile; the swipe-and-go method only works if you put things away immediately. A wire basket can hold items that belong in other rooms until you walk them there, but keep it temporary.
What are the best storage solutions for kitchen counters?
Trays, baskets, and jars work best because they turn scattered objects into single units you can lift and wipe under. Resin trays survive grease and moisture better than wicker or wood; glass jars around $5 to $8 each keep dry goods visible and maintained. Lazy Susans inside cabinets put oils and spices within reach without permanent counter camp.
How can I maximize vertical space in my kitchen?
Install wall-mounted rails with S-hooks for utensils and towels, or use adhesive acrylic spice racks and stick-on sink caddies if you rent and cannot drill. Stackable shelves let you double-use existing cabinet footprint; inside cabinet doors, shallow racks turn dead space into storage for wraps and tools you grab daily.
How often should I declutter my kitchen counters?
Set a weekly or bi-weekly rhythm depending on how fast your household generates clutter. Scan for expired items, duplicates, and "deal with later" objects that never got dealt with. Once your system is in place, this sweep takes about ten minutes.
What should I keep on my kitchen counters?
Only everyday essentials used daily: the coffee maker or kettle, a knife block or utensil holder in constant rotation, and at most one small appliance you use most days. Anything used less than three times a year does not earn counter space and belongs in a cabinet, closet, or basement.