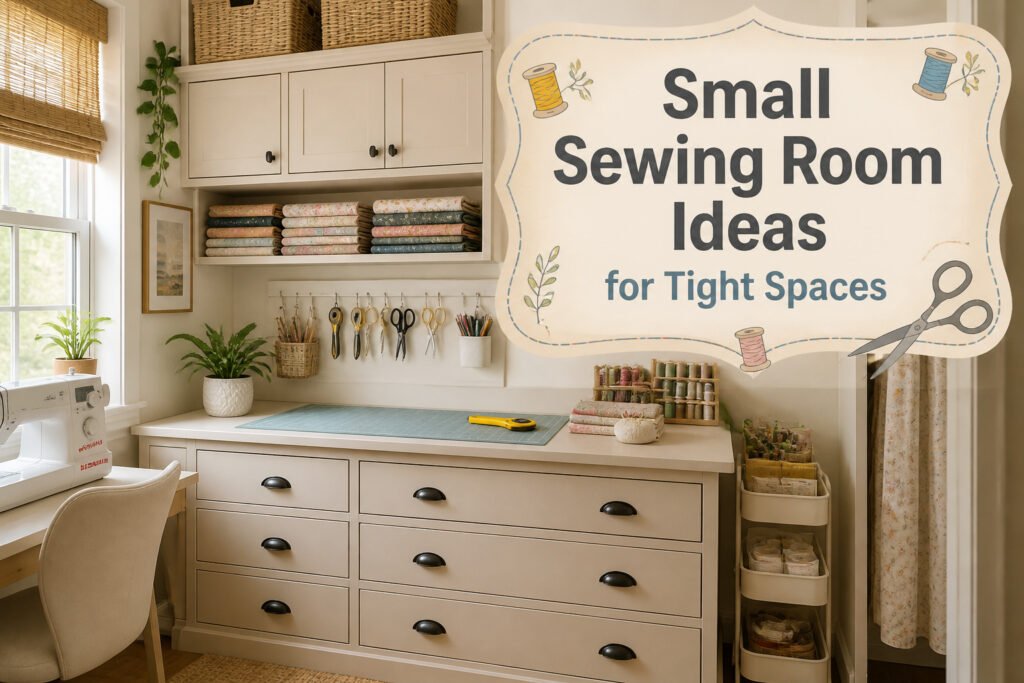
Small sewing rooms work when you stop adding storage and start hiding it. The difference between a cramped corner and a usable one is not square footage; it is whether your walls shout back at you. Closed drawers beat open racks every time, and a dresser with a larger top added to it gives you cutting space above the storage it already holds. A 107-square-foot walk-in-closet footprint becomes three working zones if you map the workflow, not the furniture.
1. Storage Solutions

Open shelving looks practical until you live with it. Thread racks, pegboards, and clear tubs turn a small sewing room into a visual shouting match, and every wall of exposed supplies makes the walls feel closer than they are. Closed storage wins in small rooms because it hides the volume of stuff sewing collects without adding to the clutter you already fight.
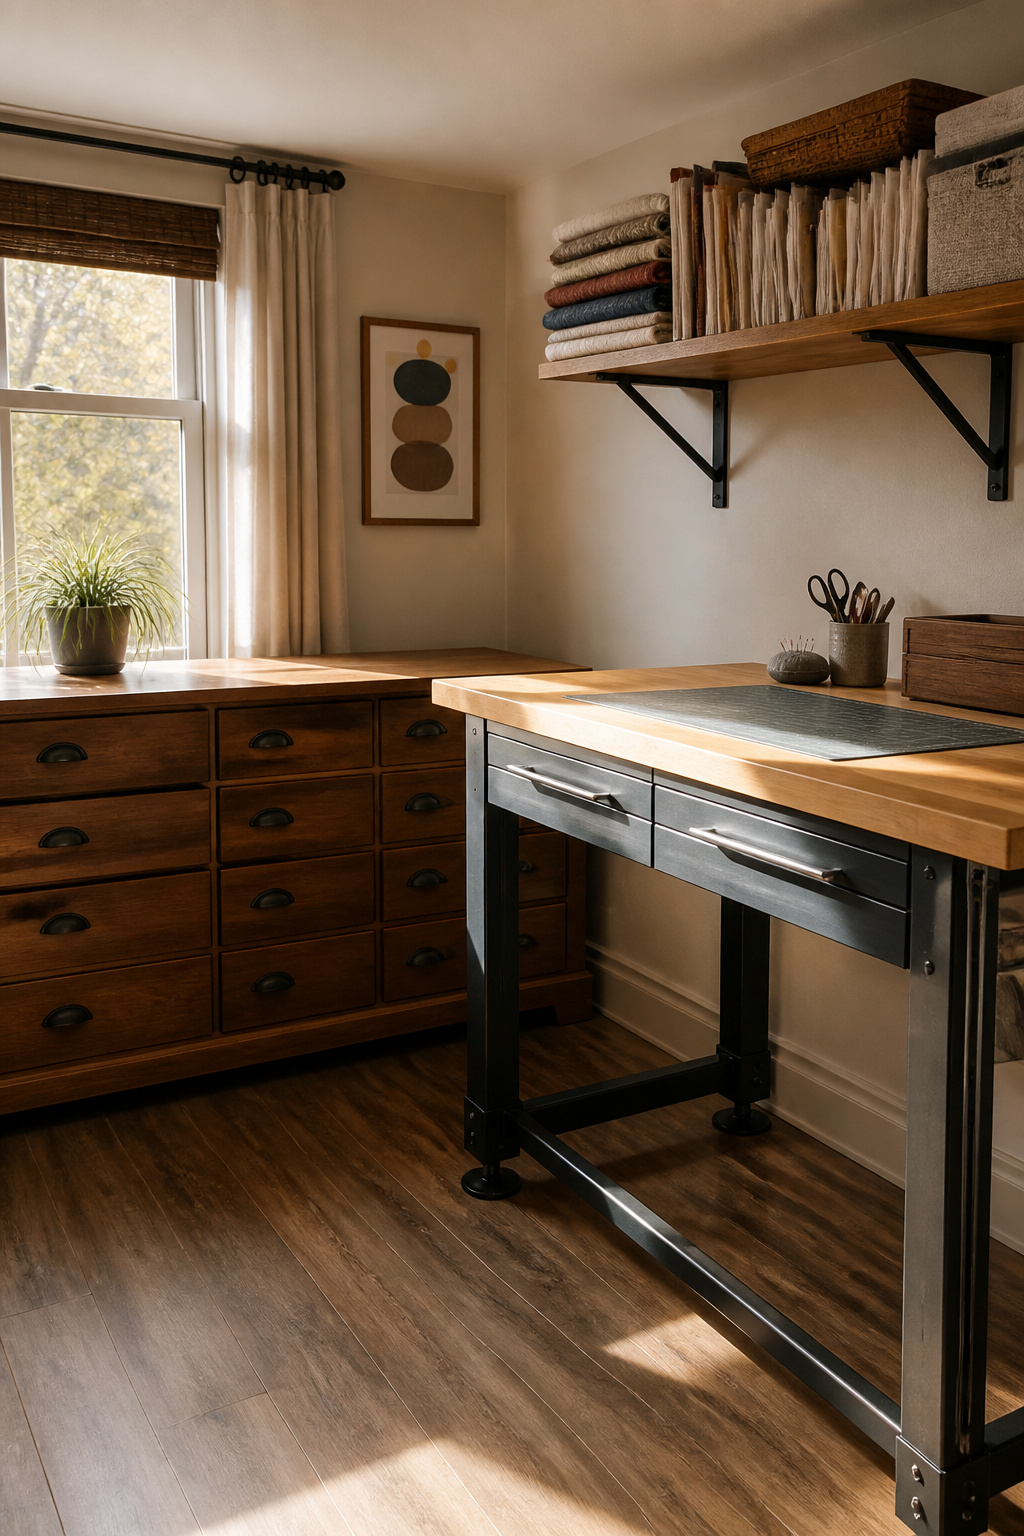
A dresser with deep drawers handles fabric, patterns, and notions without demanding floor space beyond its footprint. One sewer added a larger top to hers and gained a cutting surface above the storage. A Husky workbench with long, shallow drawers keeps threads, machine feet, and small tools nearby but invisible, which matters when your room is barely larger than the bench itself.
For fabric inside those drawers, comic book boards beat pricey fabric-store alternatives. Fold fabric to the board’s height, wrap it around, and stand it upright. Everything becomes the same size, stacks without toppling, and costs a few dollars for a pack.
Some wall space still earns its keep. A short floating shelf for quilting rulers, which are hard to store flat, keeps essentials reachable without the overstimulation of open racks. The rest stays behind doors, and the room breathes.
2. Furniture Choices
Skip the furniture marketed specifically to sewists. Those white craft desks with swing-out doors and tiny drawers look organized in photos, but the drawers rarely fit actual tools well, and the frames shake once you run a machine at speed.
A Husky workbench handles the job better than most purpose-built sewing desks. It is built for shop tools, so it does not vibrate, and the long, shallow front drawers fit thread, machine feet, and small tools without stacking. The height adjusts, which matters more than most people expect until their lower back tells them.
For cutting, look for a surface around 36 inches by 60 inches. A solid dresser works; you can replace the top with a larger board and add casters if you need more height. Closed storage beats open racks in a small room. Fabric, patterns, and notions stay cleaner and the walls stay calmer. Keep only what you use daily within sight.
3. Lighting
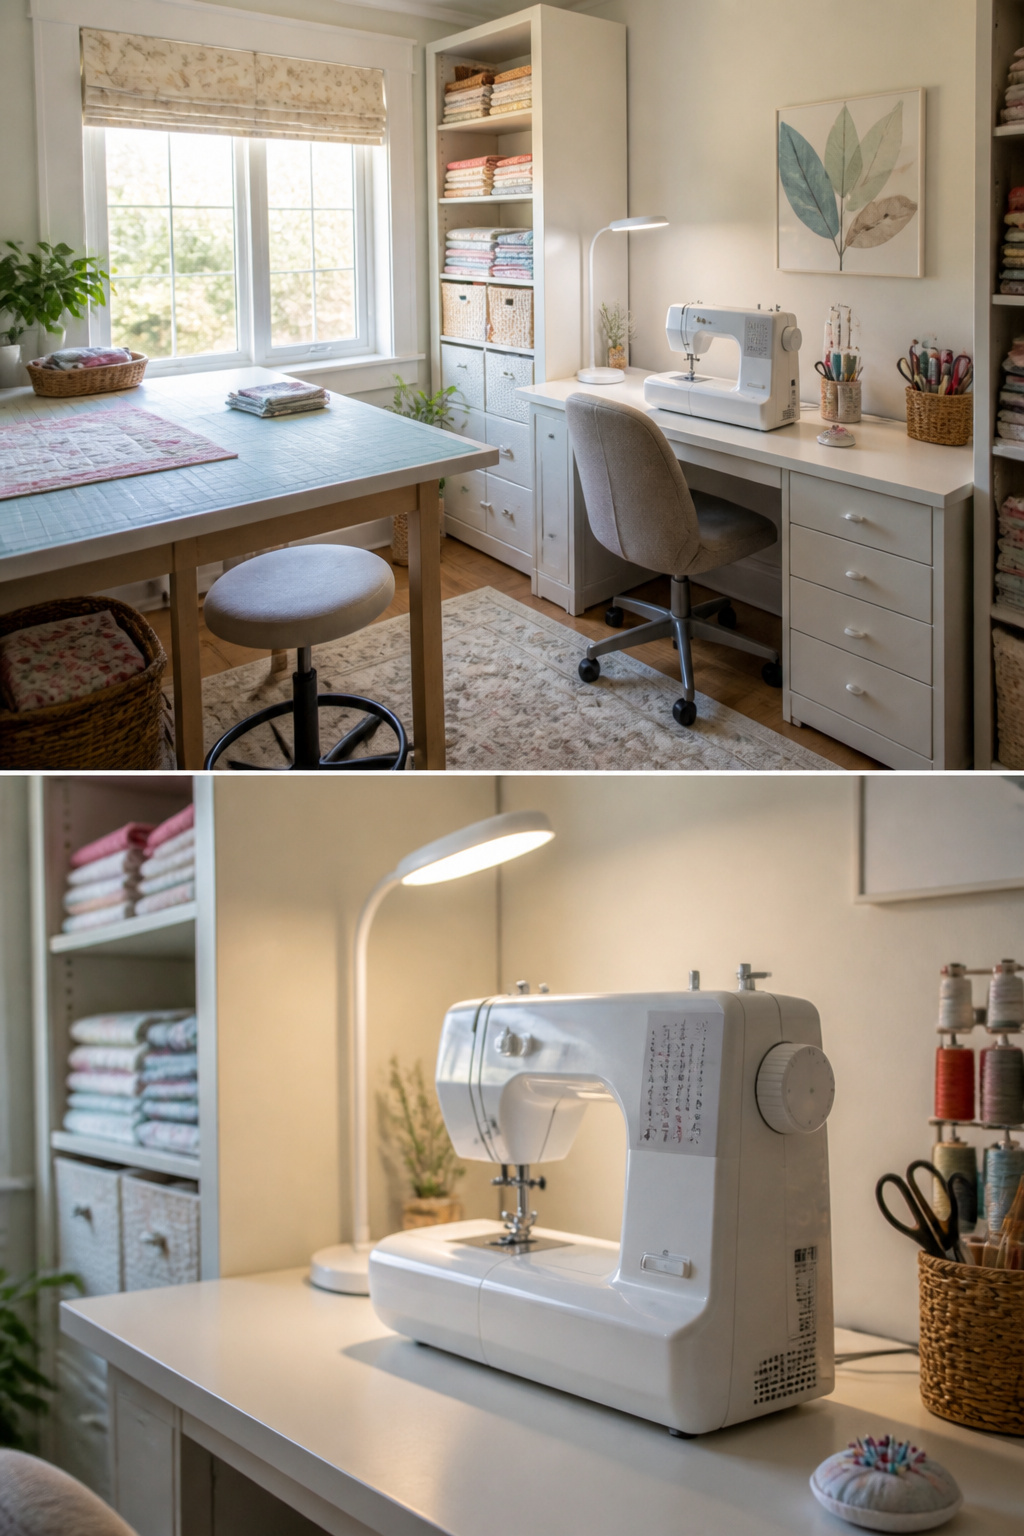
Natural light is the first thing to get right in a small sewing room, because once the sun drops, every other problem gets harder to see. Position your machine and cutting surface so they face or sit perpendicular to the window, never with the light directly behind you; that casts your own shadow across the work. Chicago winters taught someone who photographs quilts for a living that you take the sun when you can get it, which in most climates means keeping the window area clear of tall shelving that blocks afternoon hours.
After dark, you need task lighting that does not eat the desk you barely have. OttLite lamps come up again and again among sewists because the color temperature stays close to daylight, which matters when you are matching thread to fabric at 9 PM and the hardware store bulb makes everything look like a different shade. Clamp versions or slim-arm models take the footprint down to almost nothing. For hand-sewing in tight quarters, a neck-worn book light keeps both hands free and puts the beam exactly where your eyes are, not where a ceiling fixture thinks they should be.
The mistake is adding a lamp for every station. One good task light that moves with you beats three mediocre ones that crowd the surface and fight for outlet space.
4. Zoning the Space

A 107-square-foot room sounds impossibly tight until you map it out. That is roughly the footprint of a walk-in closet, and it is enough for three working zones if you stop thinking in terms of separate furniture pieces and start thinking in terms of a single workflow.
Cutting needs the largest uninterrupted flat surface you can manage. A 36-inch fold-out table mounted to the wall gives you that surface only when you need it; the rest of the time it disappears and the floor stays open for the chair at your machine. Position the table so you can walk around two sides minimum. If you can only approach from one side, you will spend every project fighting fabric that wants to slide off the edge.
The sewing zone itself is the least flexible. The machine sits where the machine sits, and it needs about 24 inches behind it for bulk to accumulate as you feed material through. Put the machine facing a corner, not a wall. Corners give you that clearance on two sides instead of one, and the visual result is that the bulk has somewhere to go besides your lap.
Ironing is where most small-room plans fail. A full-size board demands floor space you do not have. A 12-by-32-inch tabletop pressing station stores vertically in the gap between a cabinet and the wall, sets up on your cutting table when needed, and returns to that gap when done. The zone does not own territory permanently; it borrows and returns it.
Traffic between these three points should trace a narrow loop, not a back-and-forth line. Cross the room more than twice in one project and the layout is wrong.
5. Decluttering
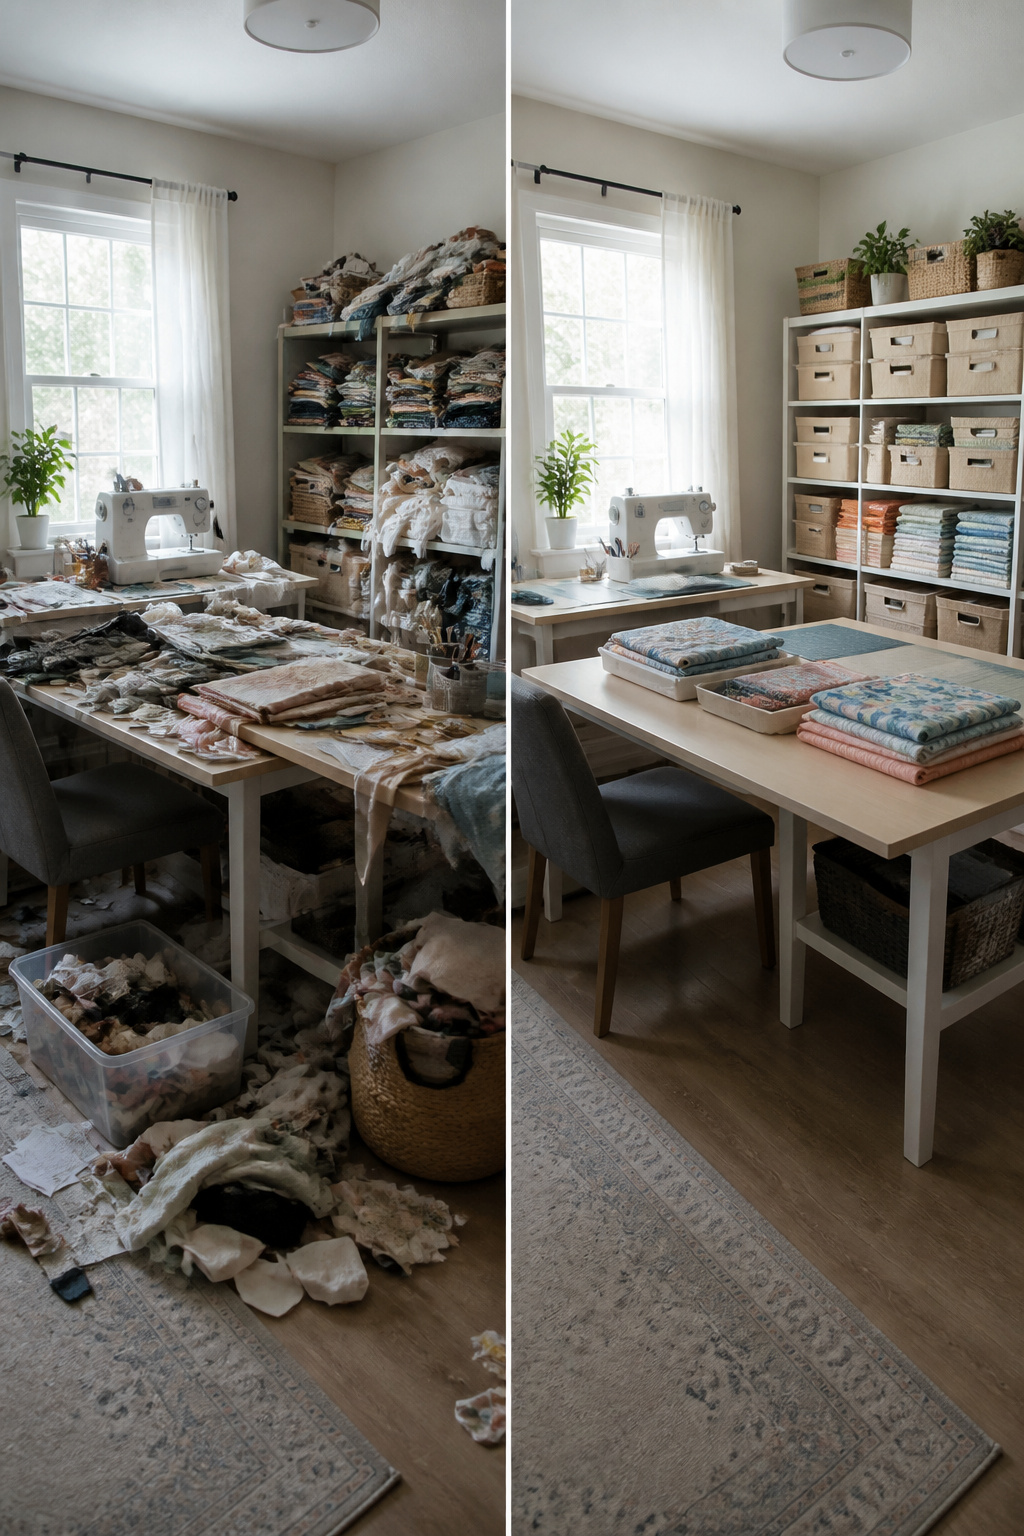
The first thing that goes in a small sewing room is the floor. Not to storage, not to a new system, just gone, buried under projects that stalled out and fabric you forgot you bought. Start by sorting into three piles: active project, home base, and out. The active project pile stays within arm’s reach. Everything else goes into drawer bins or a basic craft tray, the kind you can pick up for a dollar at Target. One reader keeps her current tools in a tray on the table and moves the rest to a "home base" drawer until the next project starts.
Pegboard works if you need to see what you own, but it only helps if you are honest about what you actually use. A 5×5 cube organizer holds most crafting supplies for under $50 and keeps fabric out of direct sunlight, which fades yardage faster than most sewers realize. The mistake is buying the organizer before you know what goes in it. Measure your folded fabric stack first, then buy the bin that fits. A weekend spent sorting beats a year of digging through dark drawers every time you need a spool of thread.
6. Creative Use of Vertical Space
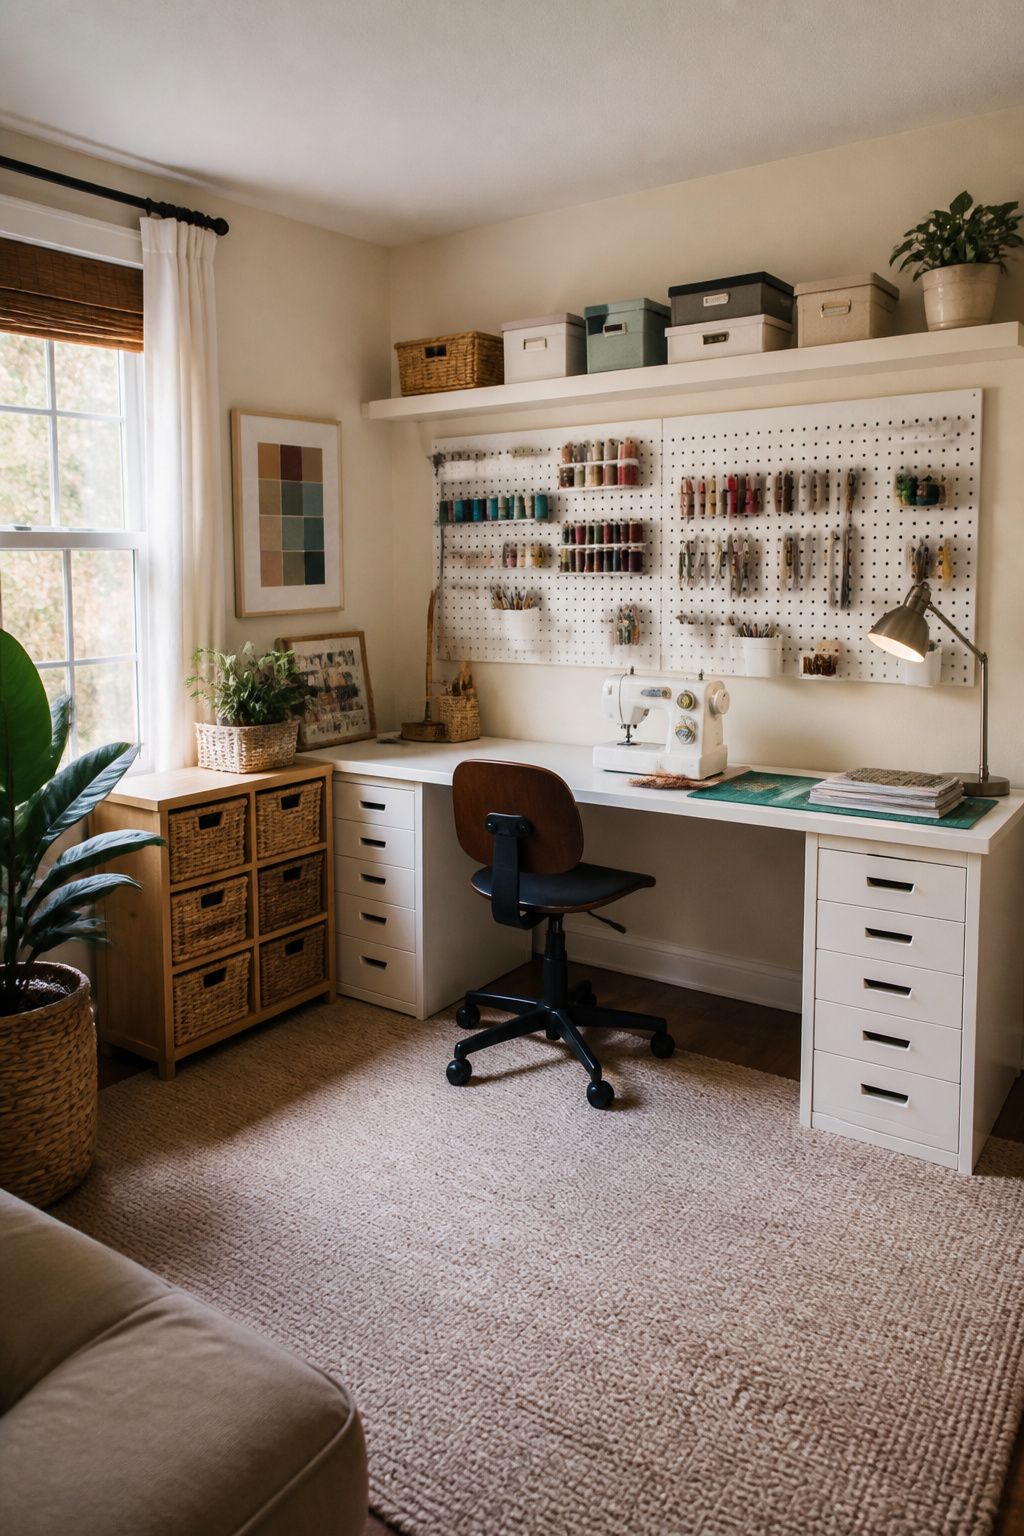
Pegboard is the first thing that pays for itself in a small sewing room. You see every pair of scissors, every spool, every rotary cutter at once, and you pull it down without opening a drawer or scooting a chair. The holes are spaced one inch apart, so hooks and shelves move around as your projects change. A 2×4 foot panel runs about $20 at any hardware store, installs with a drill in twenty minutes, and holds more than a drawer tower that costs three times as much and eats your floor space.
Wall-mounted shelves above the machine keep cones of thread, pattern boxes, and works-in-progress off the work surface. The mistake most people make is mounting them too low; you need at least 18 inches of clearance above your machine so a rolled quilt or a dress on a hanger can pass underneath. Floating shelves look cleaner, but a shallow ledge with a lip stops spools from rolling off when you bump it.
7. Incorporating Personal Style
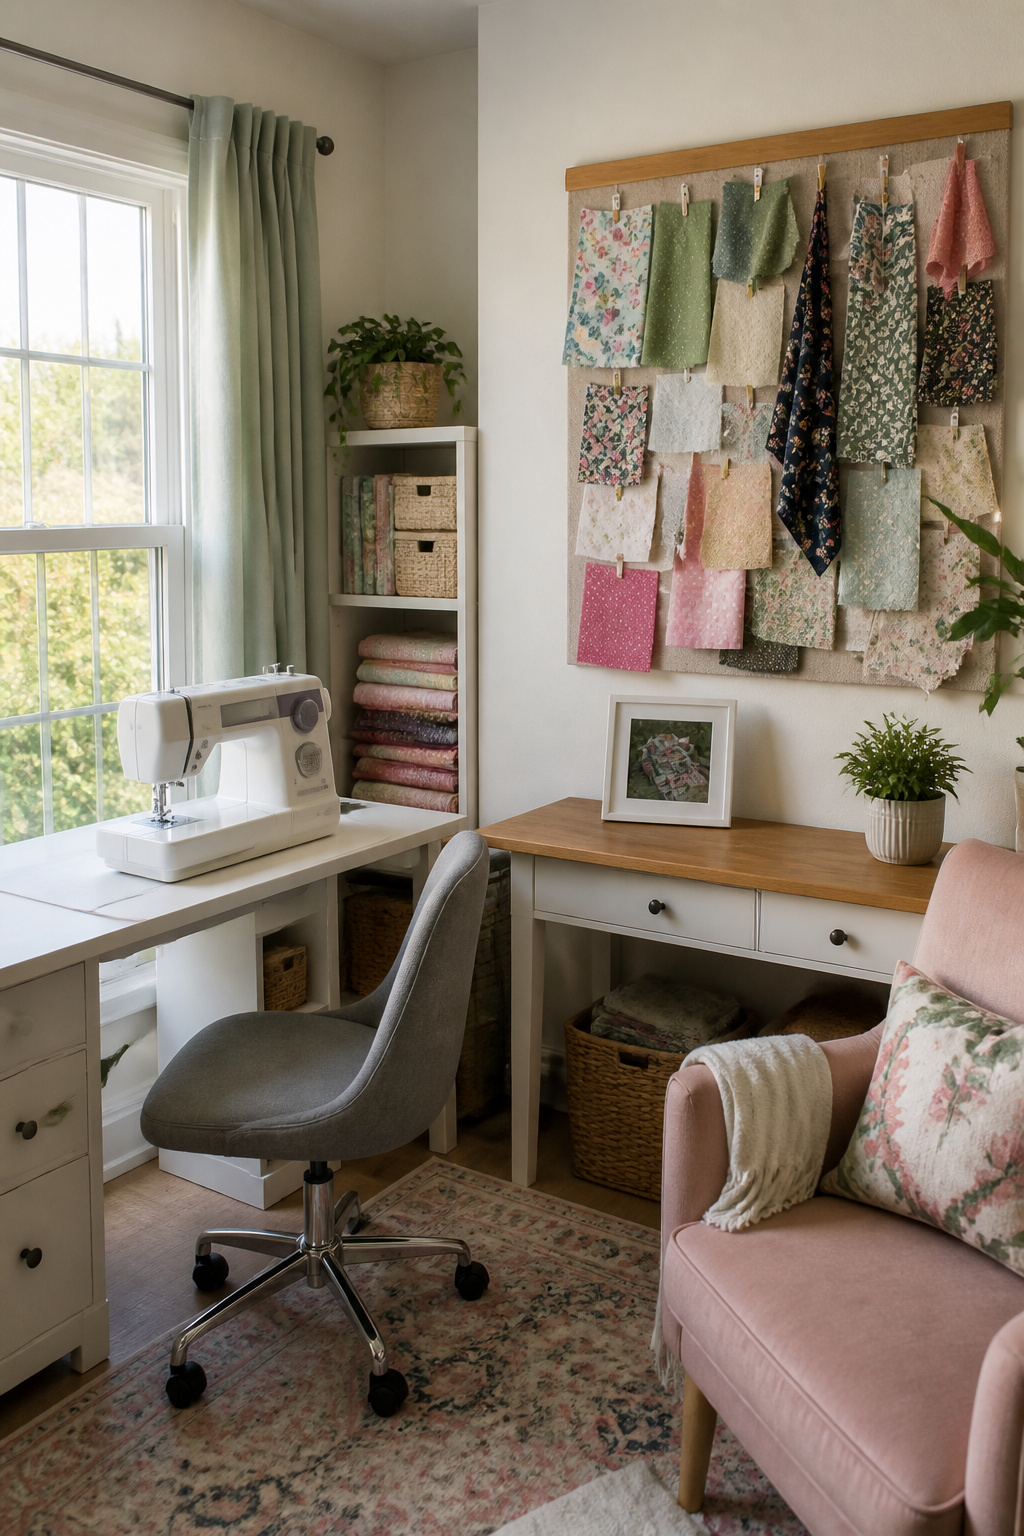
A small sewing room starts to feel like yours when you stop tolerating the walls you were dealt. Paint is the fastest move, and the sources back this up: one sewer used "white lace" chalk paint on a secondhand cabinet and the whole room brightened. That color name is worth remembering because it reads as warm, not clinical, in tight quarters with limited natural light.
For artwork, skip the framing budget and pin fabric swatches directly to a cork strip or a length of ribbon strung between two hooks. You already own the prints you love; they are folded in your stash. Rotate them when you need a different mood. The same logic applies to storage containers: shoeboxes sorted by project keep supplies visible and become their own color block against a neutral wall.
The judgment call is how much pattern to let in. One source kept her space bright and colorful but still sophisticated; another admits her room would read as cluttered to an outsider but feels usable to her. Your version of that line lives somewhere between a single accent wall and a fully wrapped bulletin board. Start with one swatch board and add only what you actually look at while threading a needle. Anything that does not survive that test is visual noise in a room where every inch already works double duty.
Multi-Functional Spaces
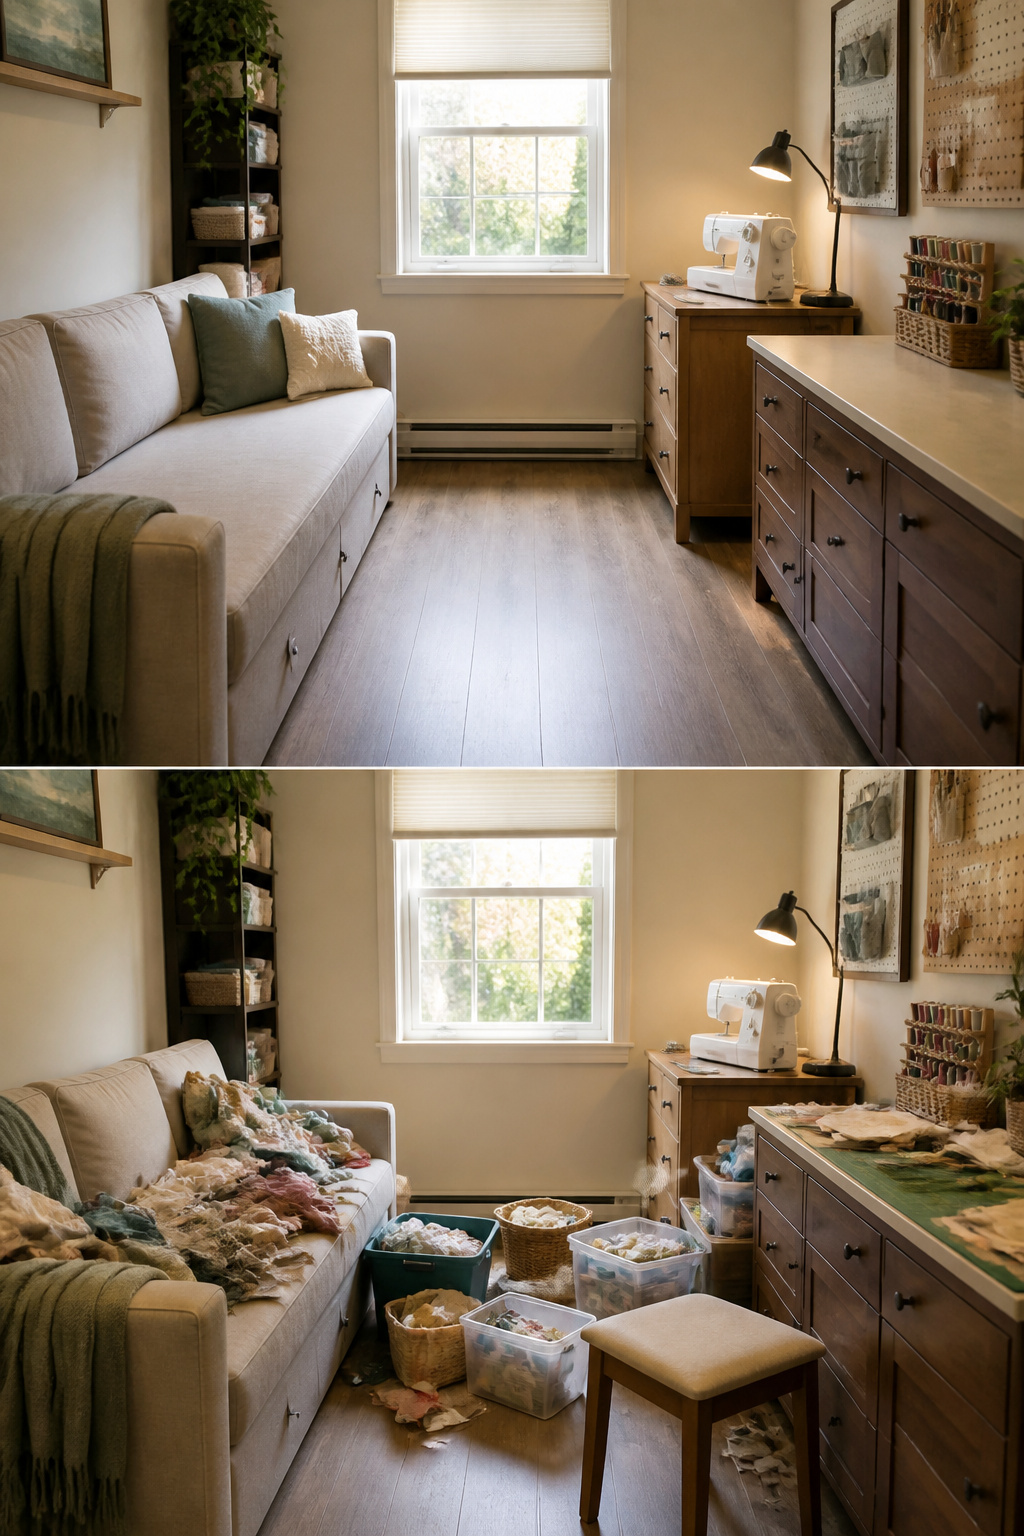
A sewing corner that has to clear out for guests is not a failed plan; it is the normal plan. The sofa you sew beside can be a pull-out bed, and the wall behind it can hold your home office while the machine sits on a dresser against the other wall. The divider between zones should be furniture, not empty floor. A sideboard run wall-to-wall splits the room into two working halves without stealing square footage the way open walkways do.
Sturdiness matters more than whether a piece is marketed to sewists. A Husky workbench built for tools handles full machine speed without shaking, and the long shallow drawers fit threads and feet better than the tiny cubbies on craft desks that unfold and wobble. A solid student desk or old dresser with a replaced top and casters gives you cutting height for under what those white sewing cabinets cost, and it stays put when you lean on it.
What goes under the window instead of behind the sofa: the storage boxes. Behind the sofa they read as hidden clutter and shrink the room. Under the window they are simply inventory you can reach. The sofa’s own storage compartment, if it has one, holds wrapping paper and gift bags fine; move the guest bedding to the loft and stop pretending you need it within arm’s reach year-round.
Organization Techniques
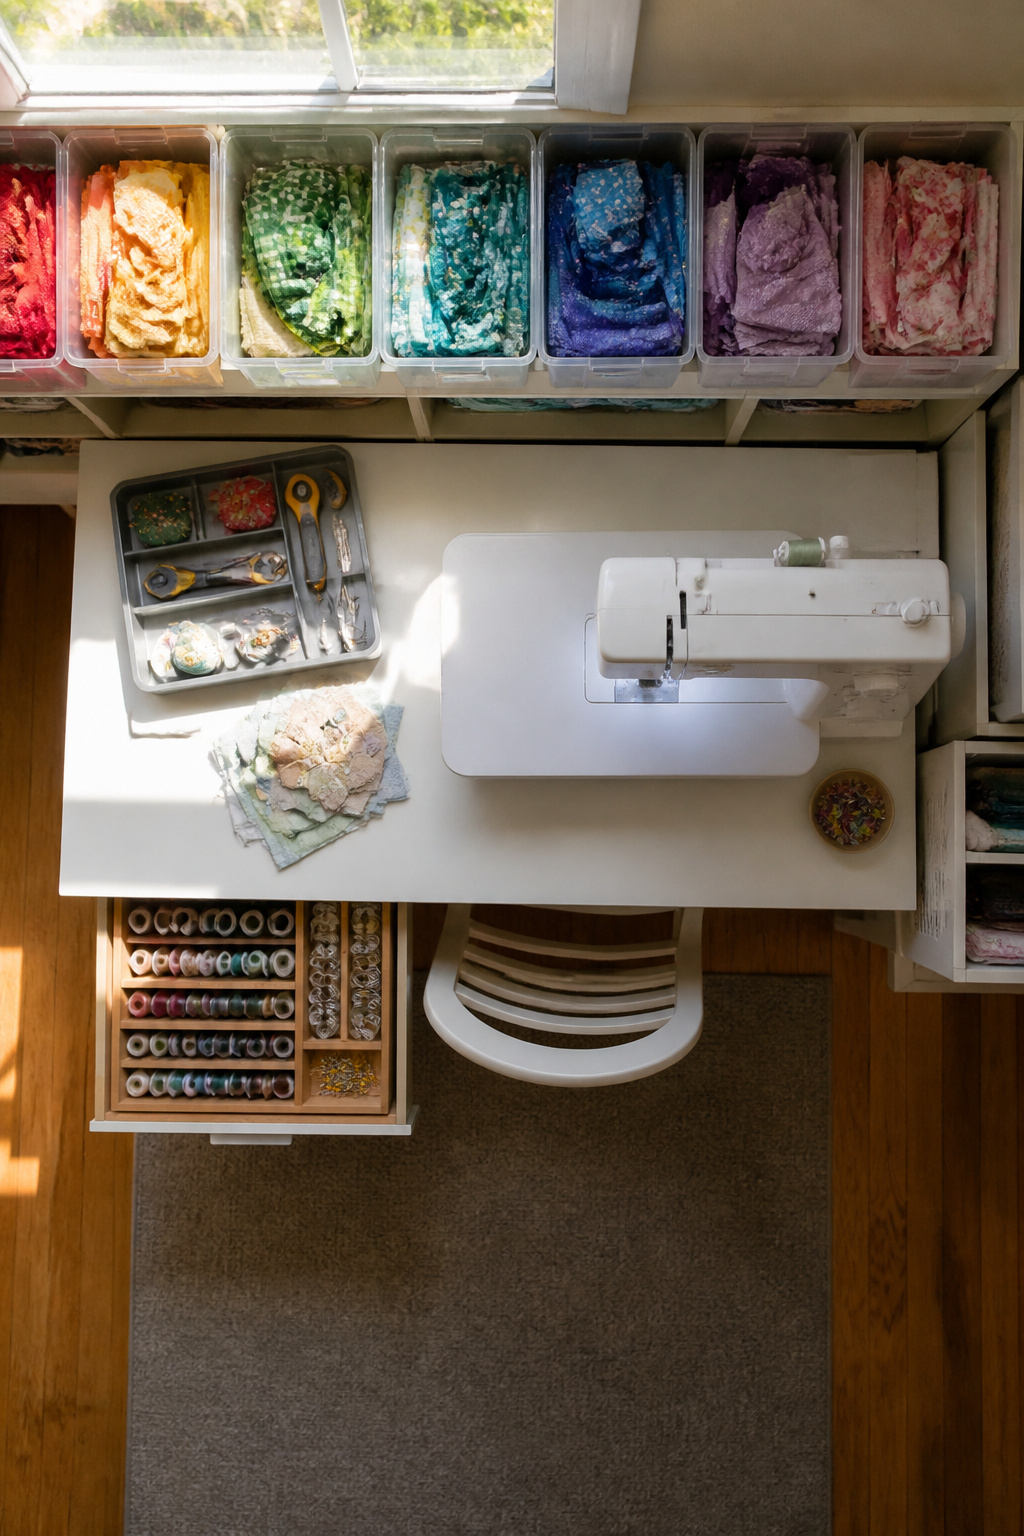
Sort fabric by how you actually hunt for it, not by what looks tidy in a photo. If you reach for a color, sort by color. If you need enough yardage for pants, sort by cut size: two-plus yards on cardboard bolts, one-yard pieces in a bin, fat quarters and scraps in their own containers. Label every bin on the front, not the lid, so you can read it from below when shelves get tight.
Notions disappear faster than yardage, so give them the smaller containers with dividers. Drawer inserts or spice jars keep thread spools, bobbins, and pins visible at a glance. Patterns stack three ways: by company and number for the big brands, alphabetically for indie names, or in a third box for PDFs kept unfolded and inserted sideways. Binders beat loose printouts; one for clothing with tabs on fitting, sleeves, and coats means you stop printing the same article twice.
A plastic craft tray on the table holds only the tools for the project in front of you. Everything else belongs in its labeled home. The system works when you can put one thing away without thinking, not when every shelf is a photo waiting to happen.
Budget-Friendly Solutions
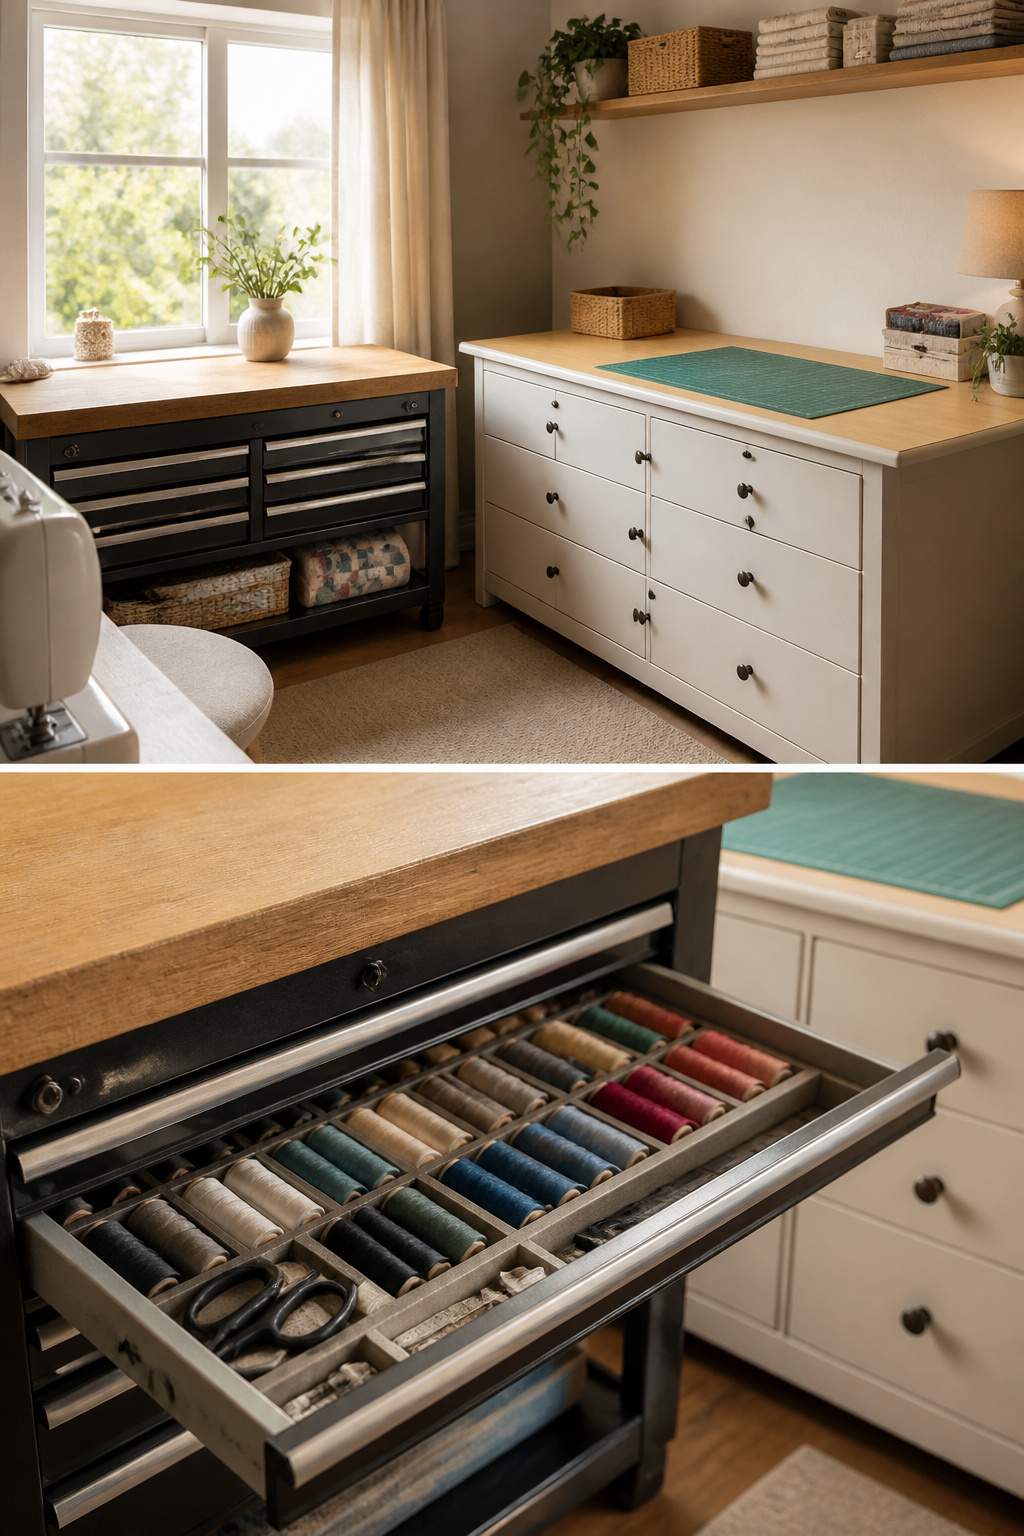
You do not need new furniture to build a workable sewing corner. A dresser with a fresh top cut to size becomes a cutting station; the drawers swallow fabric, patterns, and notions whole. A Husky workbench with its long, shallow drawers keeps threads and machine feet at hand but out of sight, which matters more than you might think. Open storage looks efficient, yet wall-to-wall pegboards and clear tubs turn a small room into visual noise. Closed surfaces calm the space.
If you are hunting free or nearly free, treat the house as your first store room. Shoeboxes sort small hardware until you find something permanent. An old TV cabinet, painted in a color like white lace, can become a sewing cabinet with the machine dropped inside. The mindset is to assign a job to what you already own before you shop. You will misjudge a piece now and then. A drawer that sticks, a height that strains your back. Move it to another room or list it again. The cost of being wrong is low when you started at zero.
Inspiration and Personalization
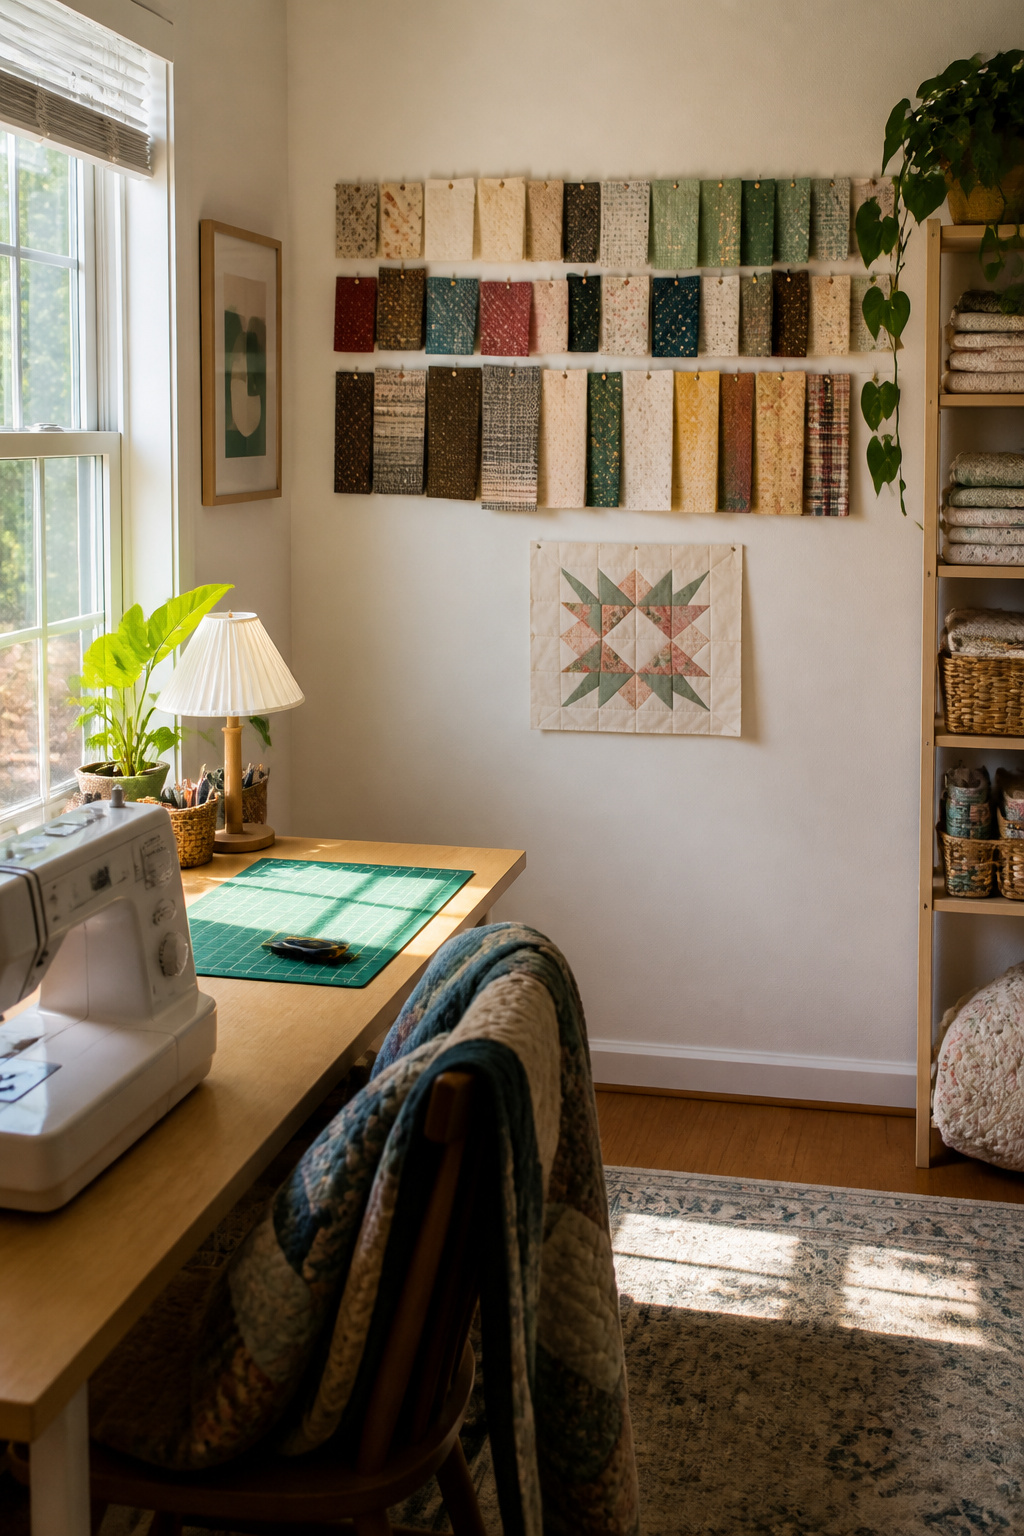
A wall in a sewing room that faces you while you work does more than hold tools. The color you put there, the one print you keep visible, the small frame from your first finished project: these settle your breathing between seams more than a designer pegboard ever could. Clutter is the thief of creativity, and the reverse is just as true. A surface you have deliberately left clear, a single object you love rather than twenty you sort of like, gives your eye somewhere to rest while your mind works through the next step.
The emotional payoff is real but easy to overstate. You will not sew better because your scissors handle matches your wall paint. You will sew longer, with less frustration, because you are not fighting the room to find your tape measure. One 107-square-foot sewing room became workable only when its owner stopped trying to fit everything in and moved the machines to a separate space. What remained was breathing room, and that mattered more than any chandelier.
Hang one thing that marks progress: a photo of your first garment, a fabric scrap from a project that taught you something. Not a gallery wall, not a theme. One thing you actually notice. The rest of the room should work; this one corner should remind you why you wanted it to.
Frequently Asked Questions
What are some good storage solutions for a small sewing room?
Closed storage wins over open shelving because it hides the volume of stuff sewing collects without making walls feel closer. A dresser with deep drawers handles fabric, patterns, and notions, and adding a larger top turns it into a cutting surface too. For fabric inside drawers, comic book boards keep everything the same size and standing upright for a few dollars a pack.
How can I maximize light in my sewing room?
Position your machine and cutting surface facing or perpendicular to the window, never with light directly behind you, so your own shadow does not fall across the work. After dark, one good task light that moves with you beats three mediocre ones crowding the surface. OttLite lamps stay close to daylight color temperature, and clamp or slim-arm versions take almost no desk space.
What furniture works best for a small sewing space?
Skip furniture marketed to sewists; those white craft desks shake once a machine runs at speed. A Husky workbench built for shop tools handles full machine speed without vibrating, and its long, shallow front drawers fit thread, machine feet, and small tools. For cutting, aim for a surface around 36 by 60 inches, which a solid dresser with a replaced top and casters can provide for less than purpose-built sewing cabinets cost.